Depth of field is a term that can seem quite mysterious to new photographers. Anyone researching it might come up with lots of confusing phrases such as circle of confusion, hyperfocal distance, plane of focus and acceptably sharp. But what does all this mean?
The fact is that depth of field is one of the most important and powerful elements in creating great images. Understanding how your choice of lens, position and aperture work together will unleash a world of new creative possibilities.
So where do we start? It's probably best to define exactly what depth of field is before going on to look at how it is affected by focal length, aperture and your position relative to the subject.
What Is Depth of Field?
Put simply, depth of field is the amount of the image that is in acceptable focus both behind and in front of the point you actually focused on. In other words if your focus point was at 5 meters and there was acceptable focus one meter in front and two meters behind then your depth of field is three meters.
However in photography we rarely quantify that distance, instead we generally use the terms shallow and deep to determine what we are looking for. A deep depth of field will have a substantial amount of the image in focus, in front of and behind the subject.

A shallow depth of field calculator will have much less in focus in front of and behind the subject. If all that's confusing, let's get on to the circle of confusion.

The Circle of Confusion
The circle of confusion defines how the light from our subject is focused on the sensor or film of the camera. In a perfect lens, all the light from the subject would focus in exactly the same point on the sensor's surface. This would mean that the subject would be in focus and all other areas would be completely out of focus. However as there is no such thing as a perfect lens, this does not happen.


The light spreads out slightly on the sensor leading to areas of the image that are in focus and areas that are not entirely in or put of focus.. The undefined area between sharp focus and out of focus is called the circle of confusion. An to be honest, that's about all I am going to say on the circle of confusion. Whilst it is technically important, in reality no photographer need's to get out his calculator and work out the mathematics of it. To us what's important is shallow depth of field or large depth of field.
However, if you are wanting to work out how deep your depth of field will be, there are things such as depth of field calculator apps. I personally use the PhotoPills app which has a DofF calculator and much much more.
As we said earlier, there are three main elements to depth of field, aperture, focal length and camera to subject distance. Before we delve into aperture and it's effects on depth of field, lets look at the main control of aperture, the f number or f stop.
What Exactly Are F Stops?
If you are a relative newcomer to photography, you may have heard of the term f stop. You may have seen it as a an option on your camera setting or even on a ring around your camera's lens. So what exactly is an f stop?
You camera's lens has an aperture. A variable hole that can let more or les light through that lens, towards the sensor. Aperture is one of the three points of the exposure triangle that you can read about here.
The scale in which we define our aperture is called f stop or f number. It's an odd looking scale, reasons for which I will not go in to now. You will see it as going from numbers like f/1.8, f/2.0 f/2.8 through f/16, f/22 and beyond. It seems that there is no logic to these numbers, however there is. What you need to know however is is what this f stops relate to.
Put simply the lower f numbers such as f/1.8 f/2.0 mean that the aperture of the lens is wider open and hence letting more light through to the sensor. The higher f numbers such as f/11 f/16 etc are smaller apertures, meaning less light is reaching the sensor.
Let's find out why f stops are important to depth of field in photography.
Aperture and Depth of Field
If we use a wide aperture, or lower number say f/2.0 we get a shallow depth of field. That means less of the image is in focus in front of and behind the subject. As we reduce the aperture we increase the depth of field. This means that more of the area in front of and behind the subject will be in sharp focus. At f stops around f/11 or f/16 we will have a deep depth of field.

A shallow depth of field, where there is little in focus front and behind the focal point is a very powerful creative tool. For example if taking a close up portrait, by using a shallow depth of field we can draw our viewer’s attention to the models eyes by having the rest of the image out of focus.
Conversely, a landscape photographer may use a deep depth of field, with the image in focus from very close to the camera all the way to the horizon.

Of course this being photography, aperture is not the only factor that controls our depth of field. Let's take a look at the next, focal length.
Focal Length and Depth of Field
In simple terms focal length defines whether a lens is wide angle, a telephoto lens or a standard lens. A wide angle lens will have a smaller focal length, typically from 10mm to 35mm. It is called wide angle because the field of view of the lens is wider than our own eyes.
A telephoto lens will have a higher focal length number, typically from 80mm all the way up to 1000mm. These lenses have a much narrower field of view compared to the human eye.
A standard lens will be in the range of 40-70mm and is roughly equivalent to the human field of view. Here's where it get's interesting.
A wide angle lens will have a more deep depth of field at a given aperture compared to a telephoto lens, assuming the camera subject distance remains the same.
A telephoto lens will have a more shallow depth of field at a given aperture compared to a wide angle lens assuming the camera subject distance remains the same. On a standard lens, the depth of field will be between that of a wide angle and a telephoto.
So in practical terms let's assume we are shooting a subject at an aperture of f/5.6 and a distance to the camera of 5 meters. If we shoot that image with a 28mm lens there will be more deep depth of field compared to if we shot it with a 135mm lens. IF we shot with a 300mm lens, the depth of field will be even less.


So focal length is the second important element in depth of field, now let's look at the third, subject distance.
Subject Distance and Depth of Field
The last part of the depth of field equation is subject distance. In simple terms, the closer out subject is to camera, the more shallow depth of field we will have. This applies for all lenses of all focal length and for all f stops.
So in practical terms if the focal distance is 2 metres with an 85mm lens at f/8 our depth of field will be shallower than if the focal distance is 10 metres. So if you want a shallow depth of field without changing lens or aperture, move closer to your subject.
There is one other element than can effect our depth of field, one that we do not really have any control over on a day to day basis. That is sensor size.
Sensor Size and Depth of Field
For reasons a little more technical than the scope of this post, if you have a larger sensor, you will have a large depth of field. For most of us there are three main sensor sizes, the smaller, m4/3, the bigger APS-C and the largest being Full Frame. Using a full frame sensor, you will get a shallower depth of field when compared to an APS-C or m4/3 camera. The smaller that sensor is, the more deep the depth of field.
This is why smartphones have a very deep depth of field. They overcome this limitation by using computational photography.
As I said, we don't really have any control over this element of depth of field. We are not going to change our camera system, just to get a shallower depth of field.
With all this in mind, let's look at some of the creative possibilities, that depth of field gives us.
Shooting With a Shallow Depth of Field
A shallow depth of field, where there is little in focus front and behind the focal point is a very powerful creative tool. For example if taking a close up portrait, by using a shallow depth of field we can draw our viewer’s attention to the models eyes by having the rest of the image out of focus.
Portraiture is one of the most important usages of a shallow depth of field. Indeed there are lenses that are specifically designed for portraiture. These lenses usually have a focal length of around 85mm and an f stop of f/1.8 or even f/1.4. By getting close to the portrait subject and shooting with a very wide aperture, the photographer can get an extremely shallow depth of field.
This is a powerful creative tool in portrait photography as it allows separation of the subject from the background. We get a background blur sometimes referred to as Bokeh.

One of the best tools on many cameras to visualise how deep your focus goes is the Depth of Field preview button. Pressing this will stop the lens down to the required aperture, allowing you to see how shallow the depth of field is. If your camera does not possess one, the next best option is to take test shots before starting the main shoot.
So as you can see depth of field is important to a portrait photographer, but where else would we use a shallow depth of field? In fact pretty much any shot where ww would like to isolate our subject from the background. Macro photography, perhaps sports and wildlife. There are many creative possibilities when using a shallow depth of field. So what about a large depth of field?
Shooting With A Deep Depth of Field
Typically, a landscape photographer might use a deep depth of field, with the image in focus from very close to the camera all the way to the horizon. Landscape photographers will very often, but not always, use a wide angle lens. Combining this lens with a small aperture the photographer can get a large depth of field, bringing the viewers eye all the way from the foreground to the background.
A deep depth of field can have issues though. Most commonly, where to focus. Even with a small aperture and deep depth of field, there is a possibility that the foreground will not be in focus. This will be the case is the photographer sets the focus to infinity, or the focus distance.
Instead, an experienced photographer will employ a technique called hyperfocal distance. WE discussed this a little here. In essence the photographer sets his focus to a point around 1/3rd of the distance to the horizon. Combining this with small apertures, the landscape photography expert can get a deep depth of field.

As well as the aforementioned depth of field preivew button, another way to get an idea on how deep your focus will be is to use an app. Apps like Photopills and Photographer's Ephemeris have a depth of field calculator built in. These can make determining your focal point, much easier.
Diffraction And Depth Of Field
There is one issue worth mentioning if we are looking for a deep depth of field and that is diffraction. Simplistically, we might assume the light going through our lens travels in a direct, straight line until it hits our sensor.
In reality, most of us know that the purpose of a lens is to focus the light on the sensor, and in doing that it changes the direction of it and hence it will hit the sensor at a slight angle. Inside the lens of course we have the aperture, the iris that controls exactly how much light reaches that sensor. When the aperture is open fairly wide, giving a shallow depth of field, it has little effect on the direction of the light.
However as we close down the aperture, to get a deep depth of field, it increasingly changes the angle at which the light strikes the sensor and here is the root of the problem.
When the light passes through the aperture it is formed into a cone of light. At wide apertures, that cone is fairly narrow and the light hits the sensor more or less straight on.
As we reduce aperture, the more that cone of light spreads out. Think of using a garden hose pipe. If you allow the water to just flow with no obstruction “aperture”, it comes more or less straight out of the pipe.
Put your thumb over the pipe however, creating a smaller aperture and the water will spray out in a large cone shape.
Now when our cone of light hits our sensor, if it is smaller than our individual pixels, diffraction plays no role. However if that cone becomes bigger than the individual pixel, it will strike two or more pixels causing a blurring effect and a reduction in apparent sharpness in the image.
Now this is obviously a very simplistic explanation but having a basic understanding of it will help you to overcome it. As you might gather from this explanation, the smaller the pixel size of your sensor and the smaller the sensor, the lower the diffraction limit of the aperture.
As a basic rule of thumb on APS-C sensors cameras such as the Canon 7D or Nikon 5200 the diffraction limit will be about f8. On smaller sensor camera it may kick in as low as f5.6 and on full frame sensors the limit is around f11. There are of course numerous apps and websites where you can calculate the diffraction limit of your camera. It's well worth experimenting with different apertures to see just how diffraction affects your camera.
In Summary
Depth of field is one of the most powerful compositional tools that we have as photographers. By using a shallow depth of field, we can isolate a subject from it's background, drawing the viewer towards the eyes of a model, for example.

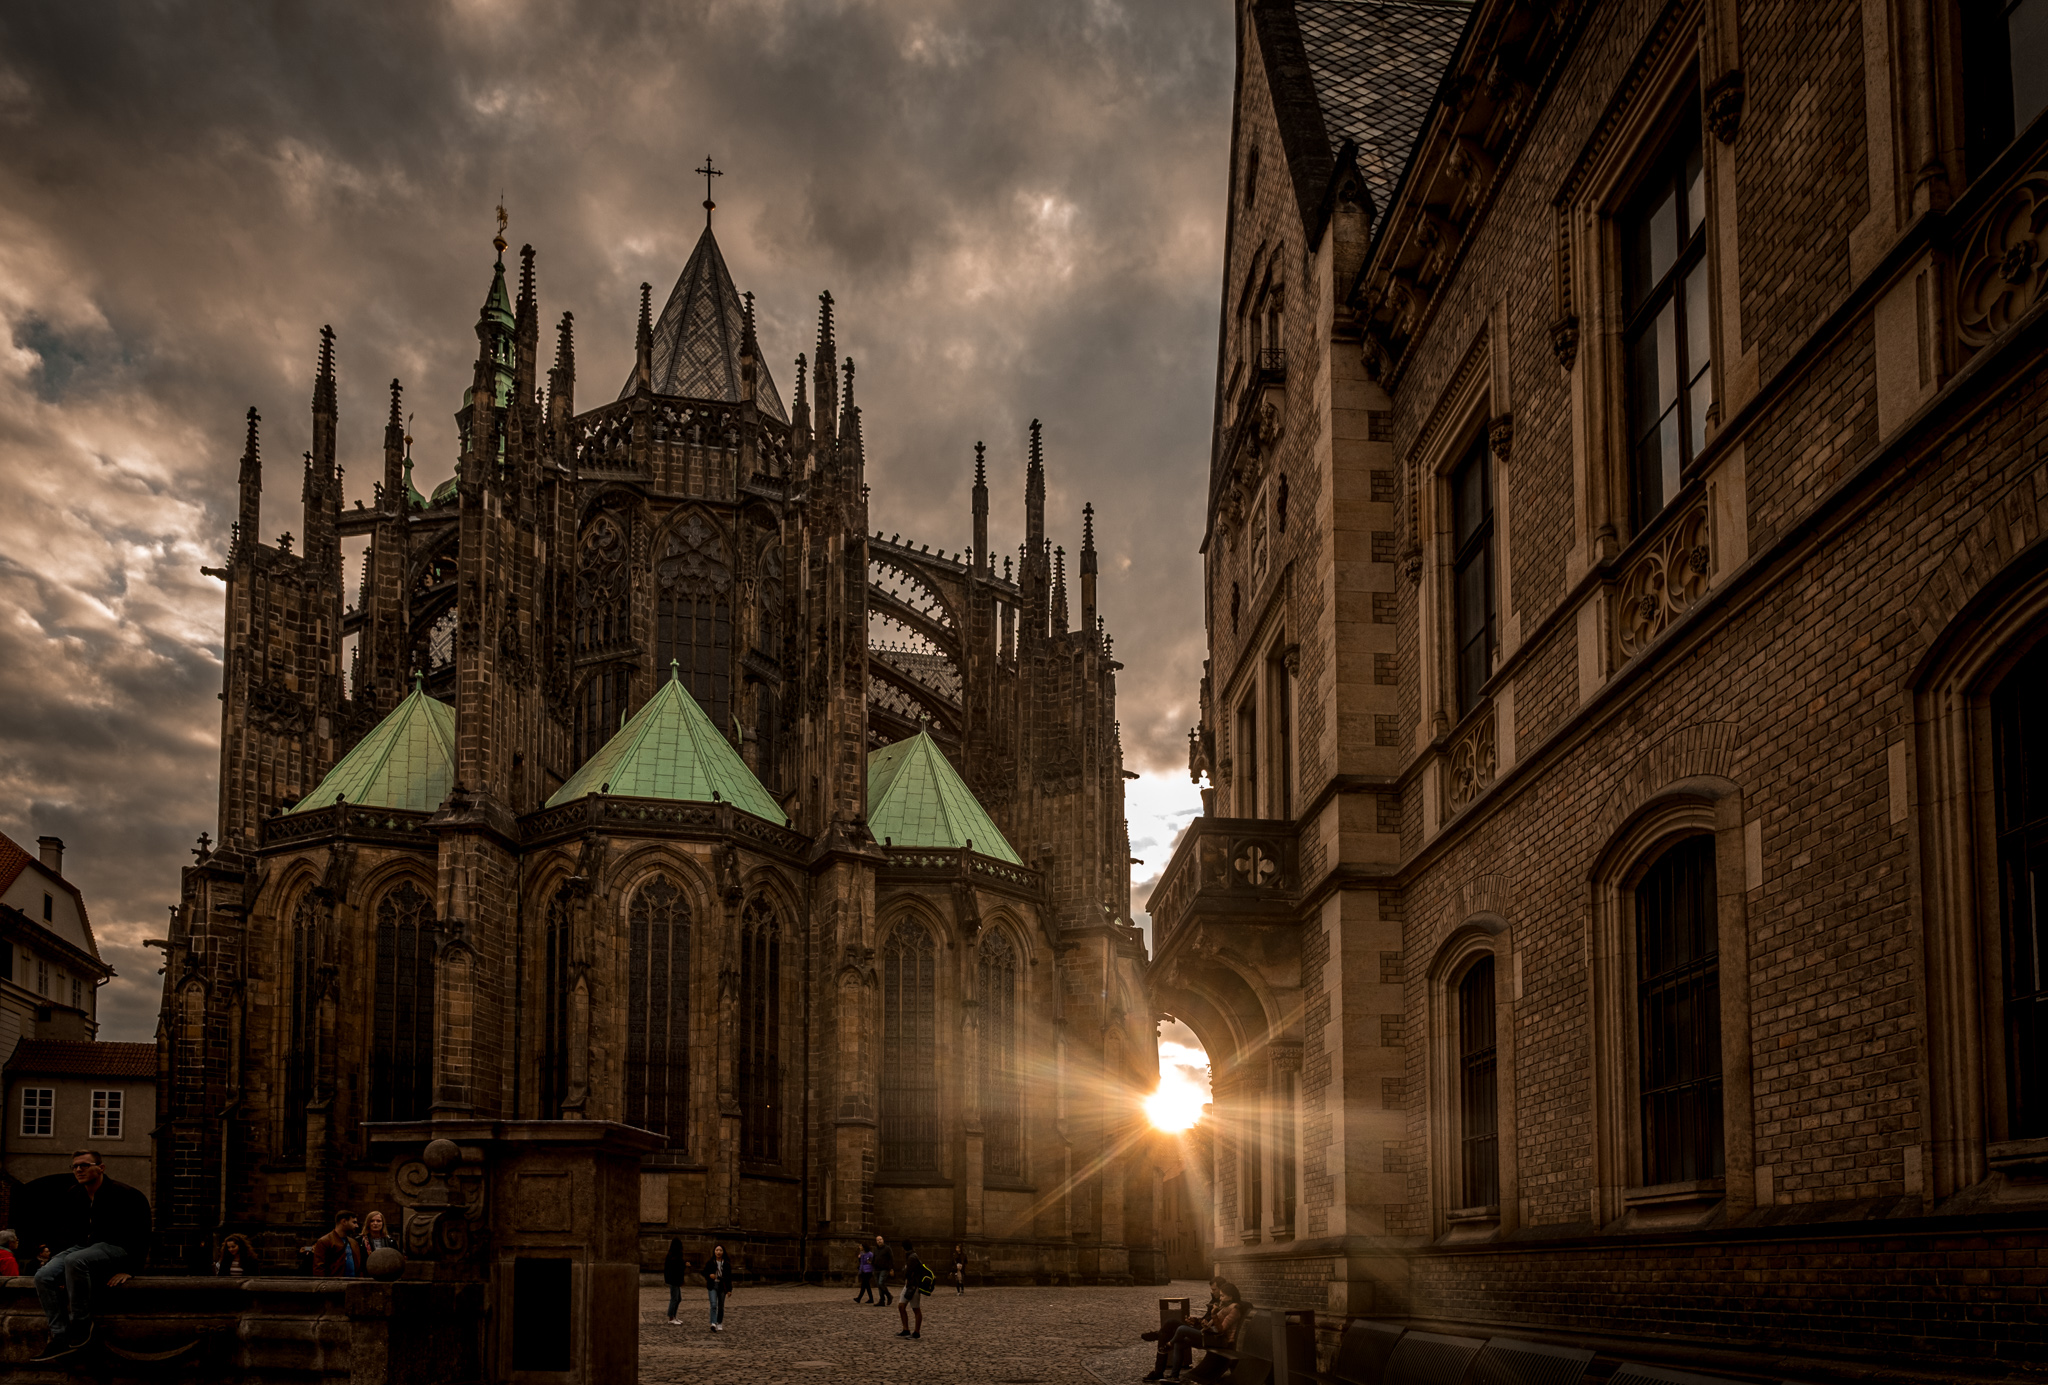
Shooting a deep depth of field allows our viewer to take a journey through the image taking in all the details until they reach the primary subject. It is ideally suited to landscape photography but also many other uses such as architecture and urban photography.
Understanding the relationship between aperture, focal length and subject distance will greatly enhance your creative possibilities. Use a wide angle lens and small aperture for deep depth of field. Conversely try a moderate telephoto with a wide aperture for shallow depth of field. The options are plenty and limited only by your own creativity.
If you would like to improve your photography, check out my courses at Udemy. .