Photography and geometry may, at first glance, seem entirely different disciplines, but there is at least one geometric shape that is of great importance to photographers especially those that shot manual mode. That is shape is the triangle, more specifically, the Exposure Triangle.
So what is the Exposure Triangle?
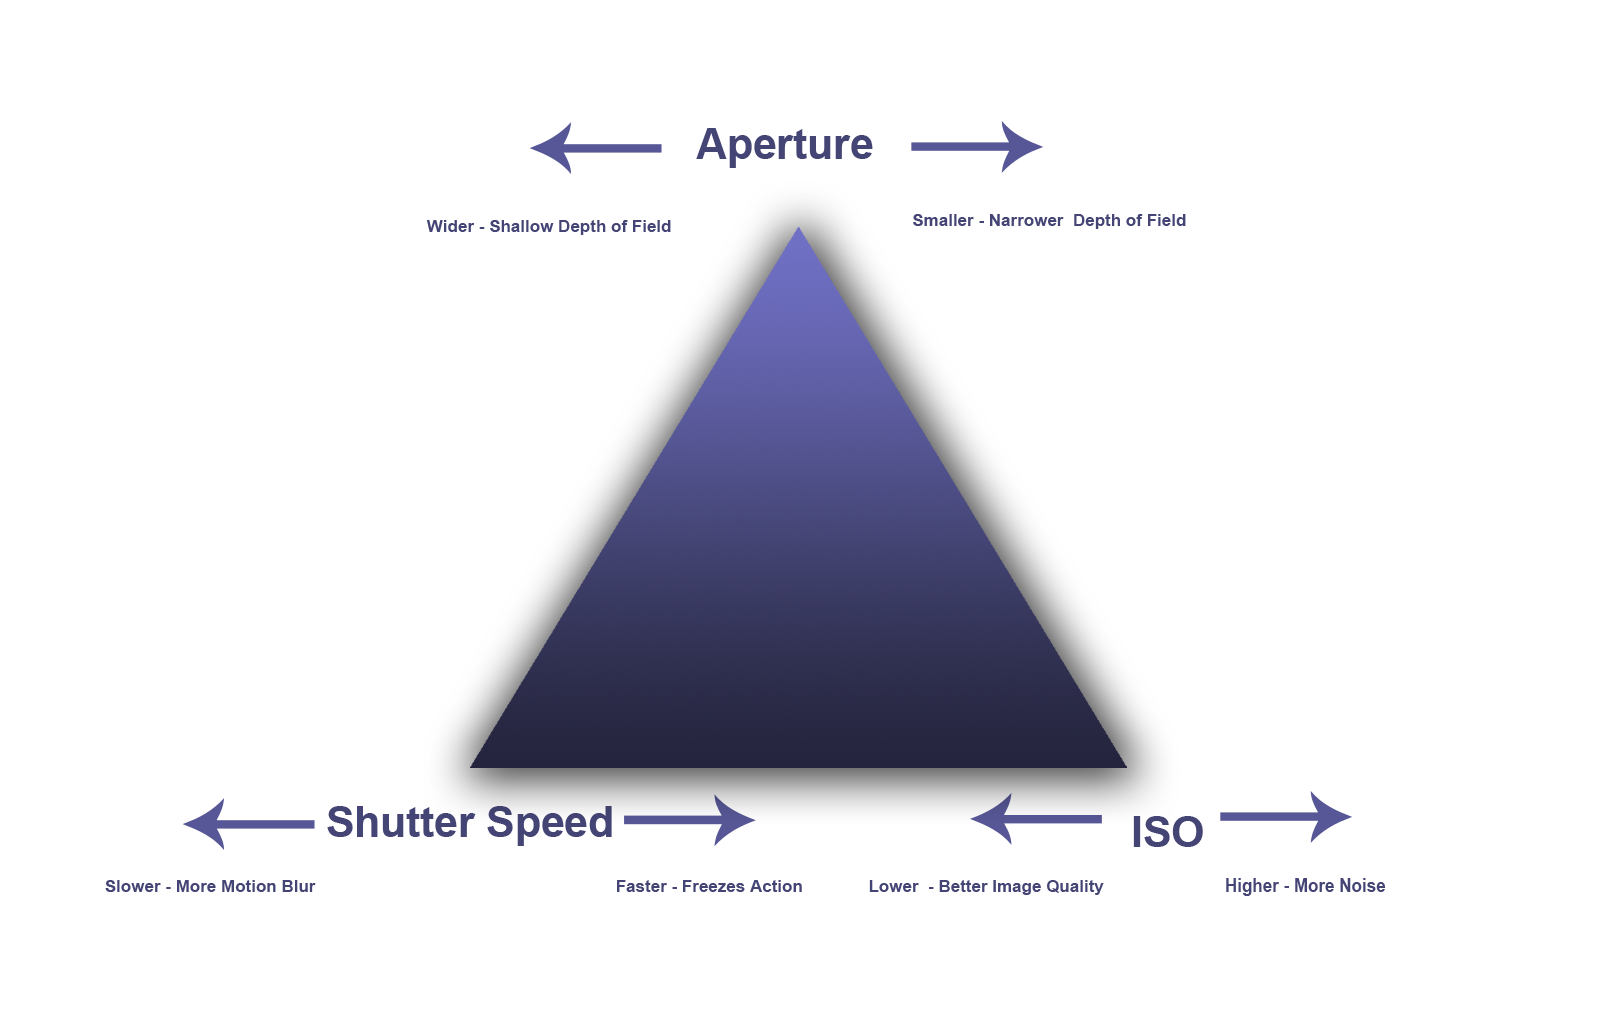
Well, it is a way of describing how to get the correct exposure for every shot we take. At the bottom of the triangle we have our aperture and shutter speed, at the very top we have ISO or film speed. These are the three fundamental controls that regulate the amount of light that will reach our camera’s sensor or indeed film. Understanding how these relate to each other is a vital part of understanding photography particularly in manual mode.
So let's have a little look at how the three work together, starting with perhaps the most important two elements of the triangle, aperture and shutter speed.
Shutter Speed's Relationship To Aperture
To describe the relationship between shutter speed and aperture, we are going to use an analogy, that analogy being a bucket of water. Imagine, if you will, that the bucket is your sensor or film and the water is your light. Our aim in getting the correct exposure, when shooting manual mode, is to fill the bucket to the brim, without spilling any.
If we under fill the bucket, we are under exposing the image and it will look dark. If we overfill the bucket, we have over exposure and our image will look too light.
The Secret to Getting The Correct Exposure
The best and most often used way to nail exposure is to use manual mode. You adjust the shutter speed, in this case how long the faucet or tap is open for, and aperture which relates to how wide we open the tap.
If we open the tap wide (shutter speed), but only for a very short time we may not fill the bucket, so for example if we use a shutter speed of 1/2000th of a second (tap open for a short period) and an aperture of f4, (tap open fairly wide) and we find the bucket is not filling, we need to do one of two things, use a longer shutter speed or a wider aperture. Conversely, if we are over filling the bucket our options are to reduce the shutter speed or use a smaller aperture.
The way these two main controls relate to each other is one of the fundamentals of shooting in manual mode. This is because different shutter speed/aperture combinations will give you different looking images despite the actual exposure looking the same. Let's look briefly at the effect of shutter speed, aperture and ISO. We will look in detail at all three later in the article.
Shutter Speed’s Main Effect
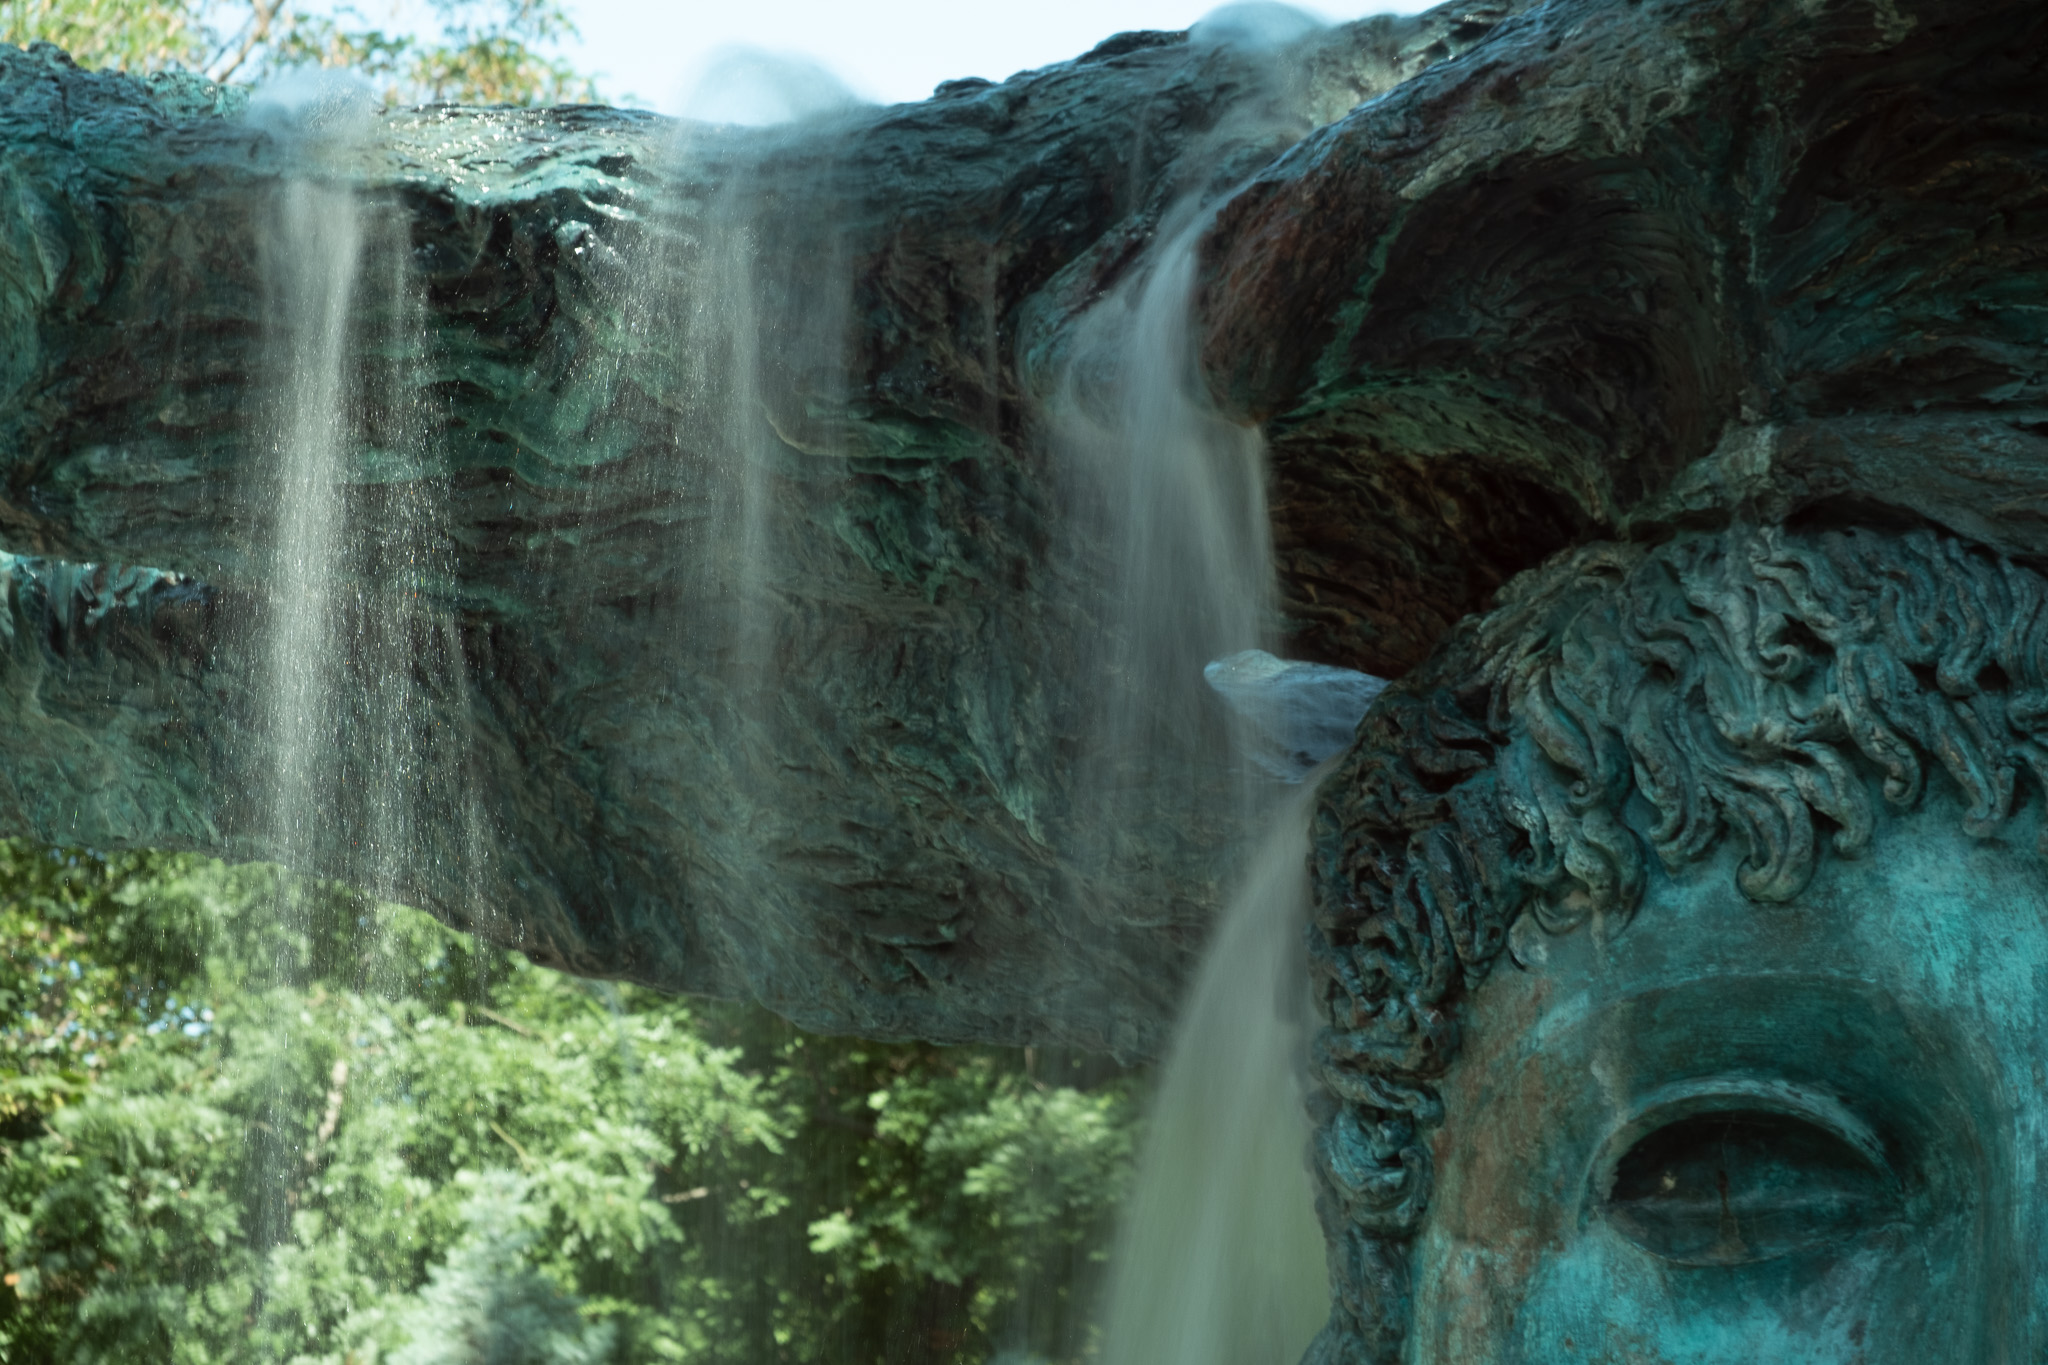
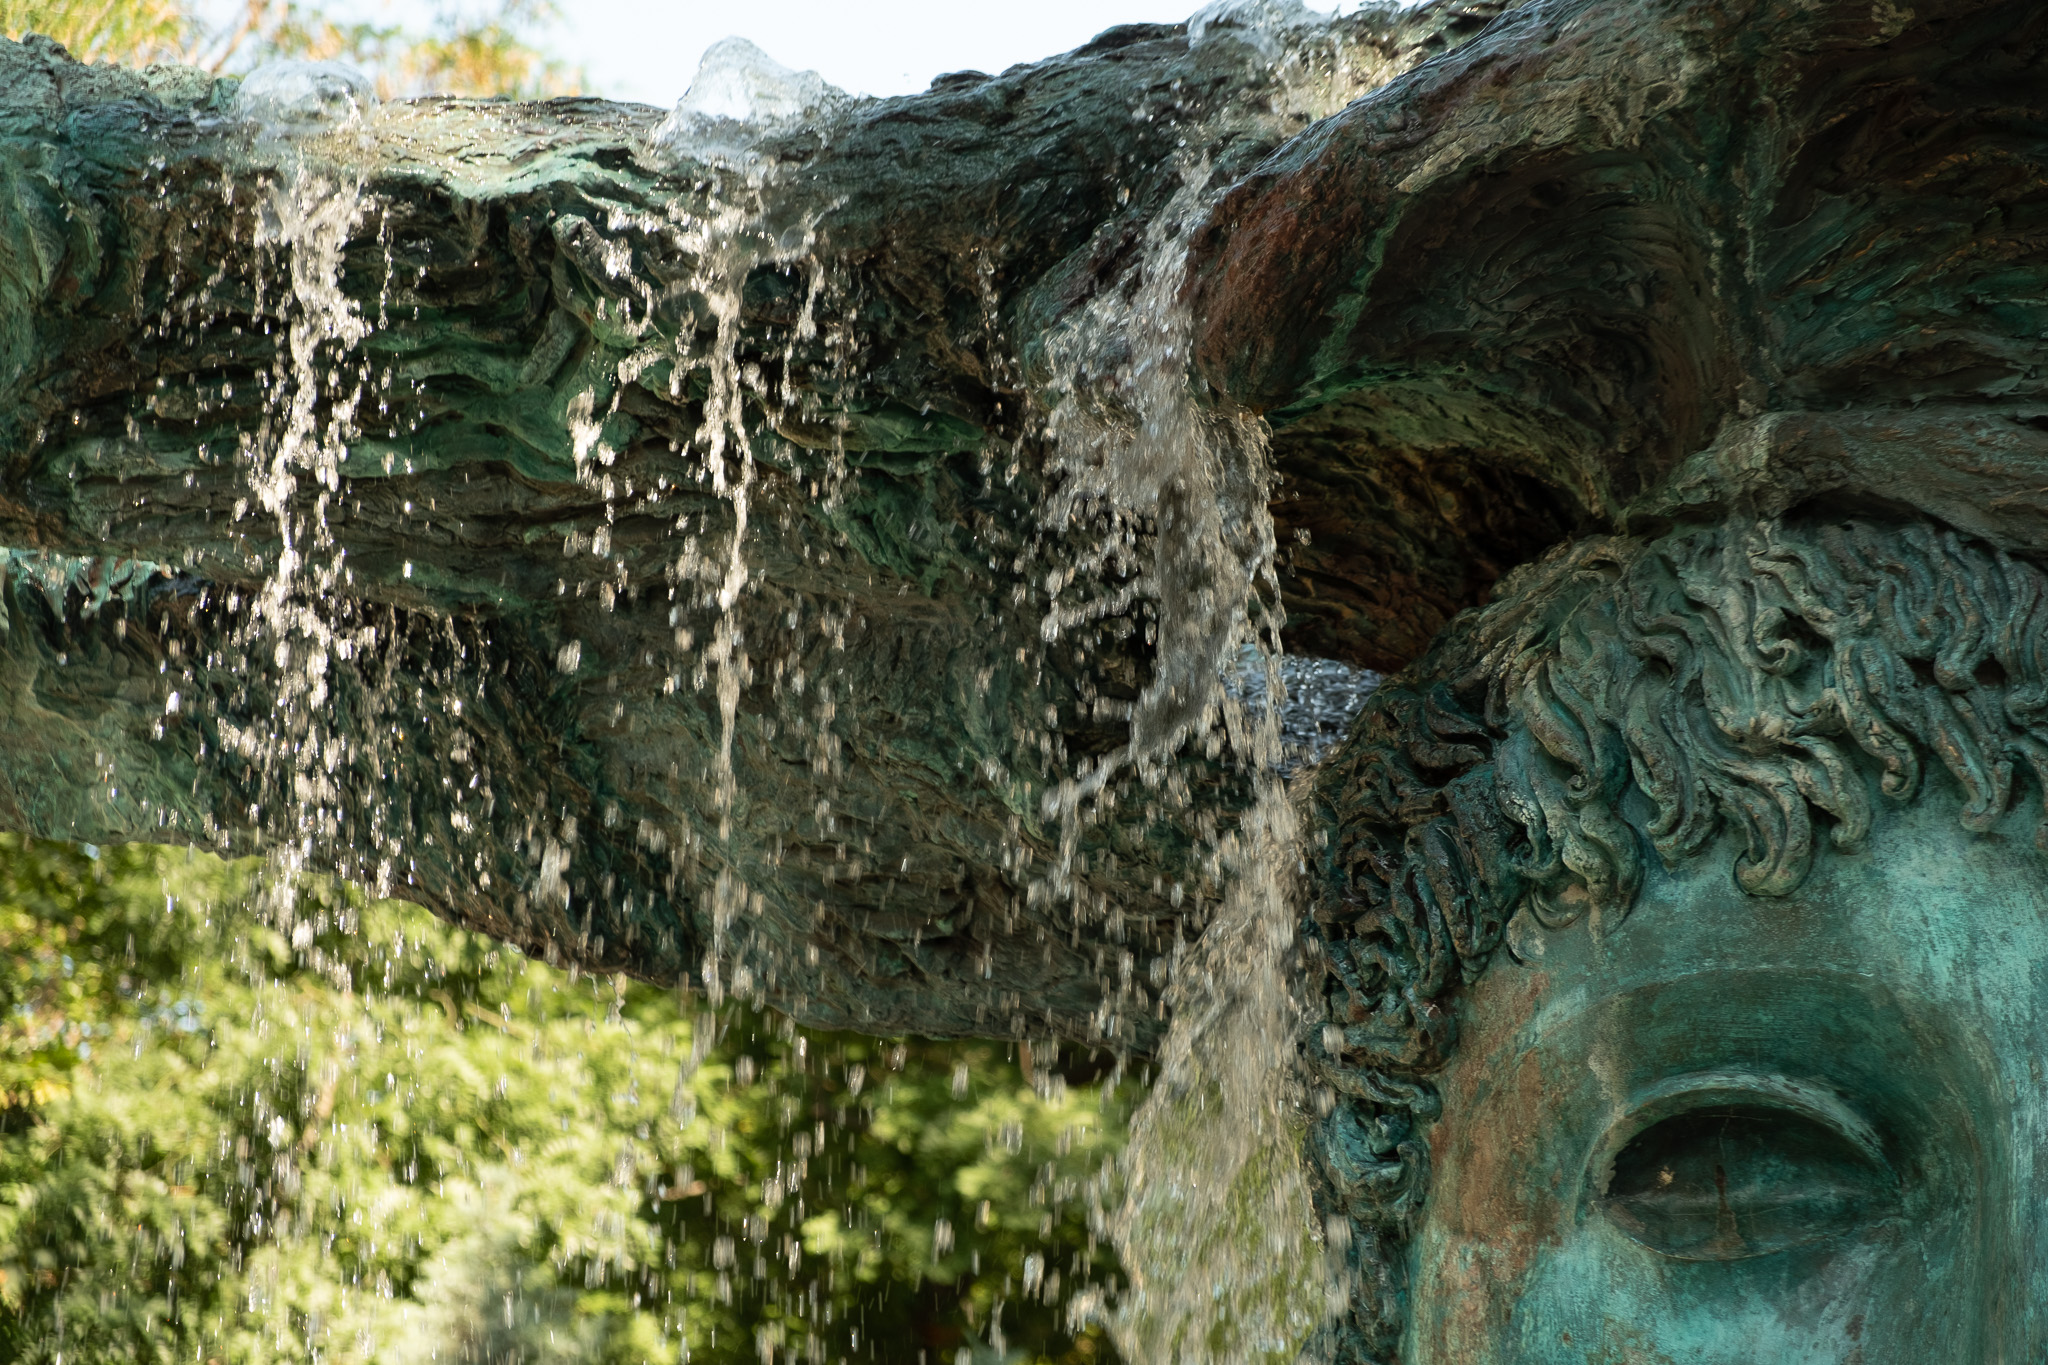
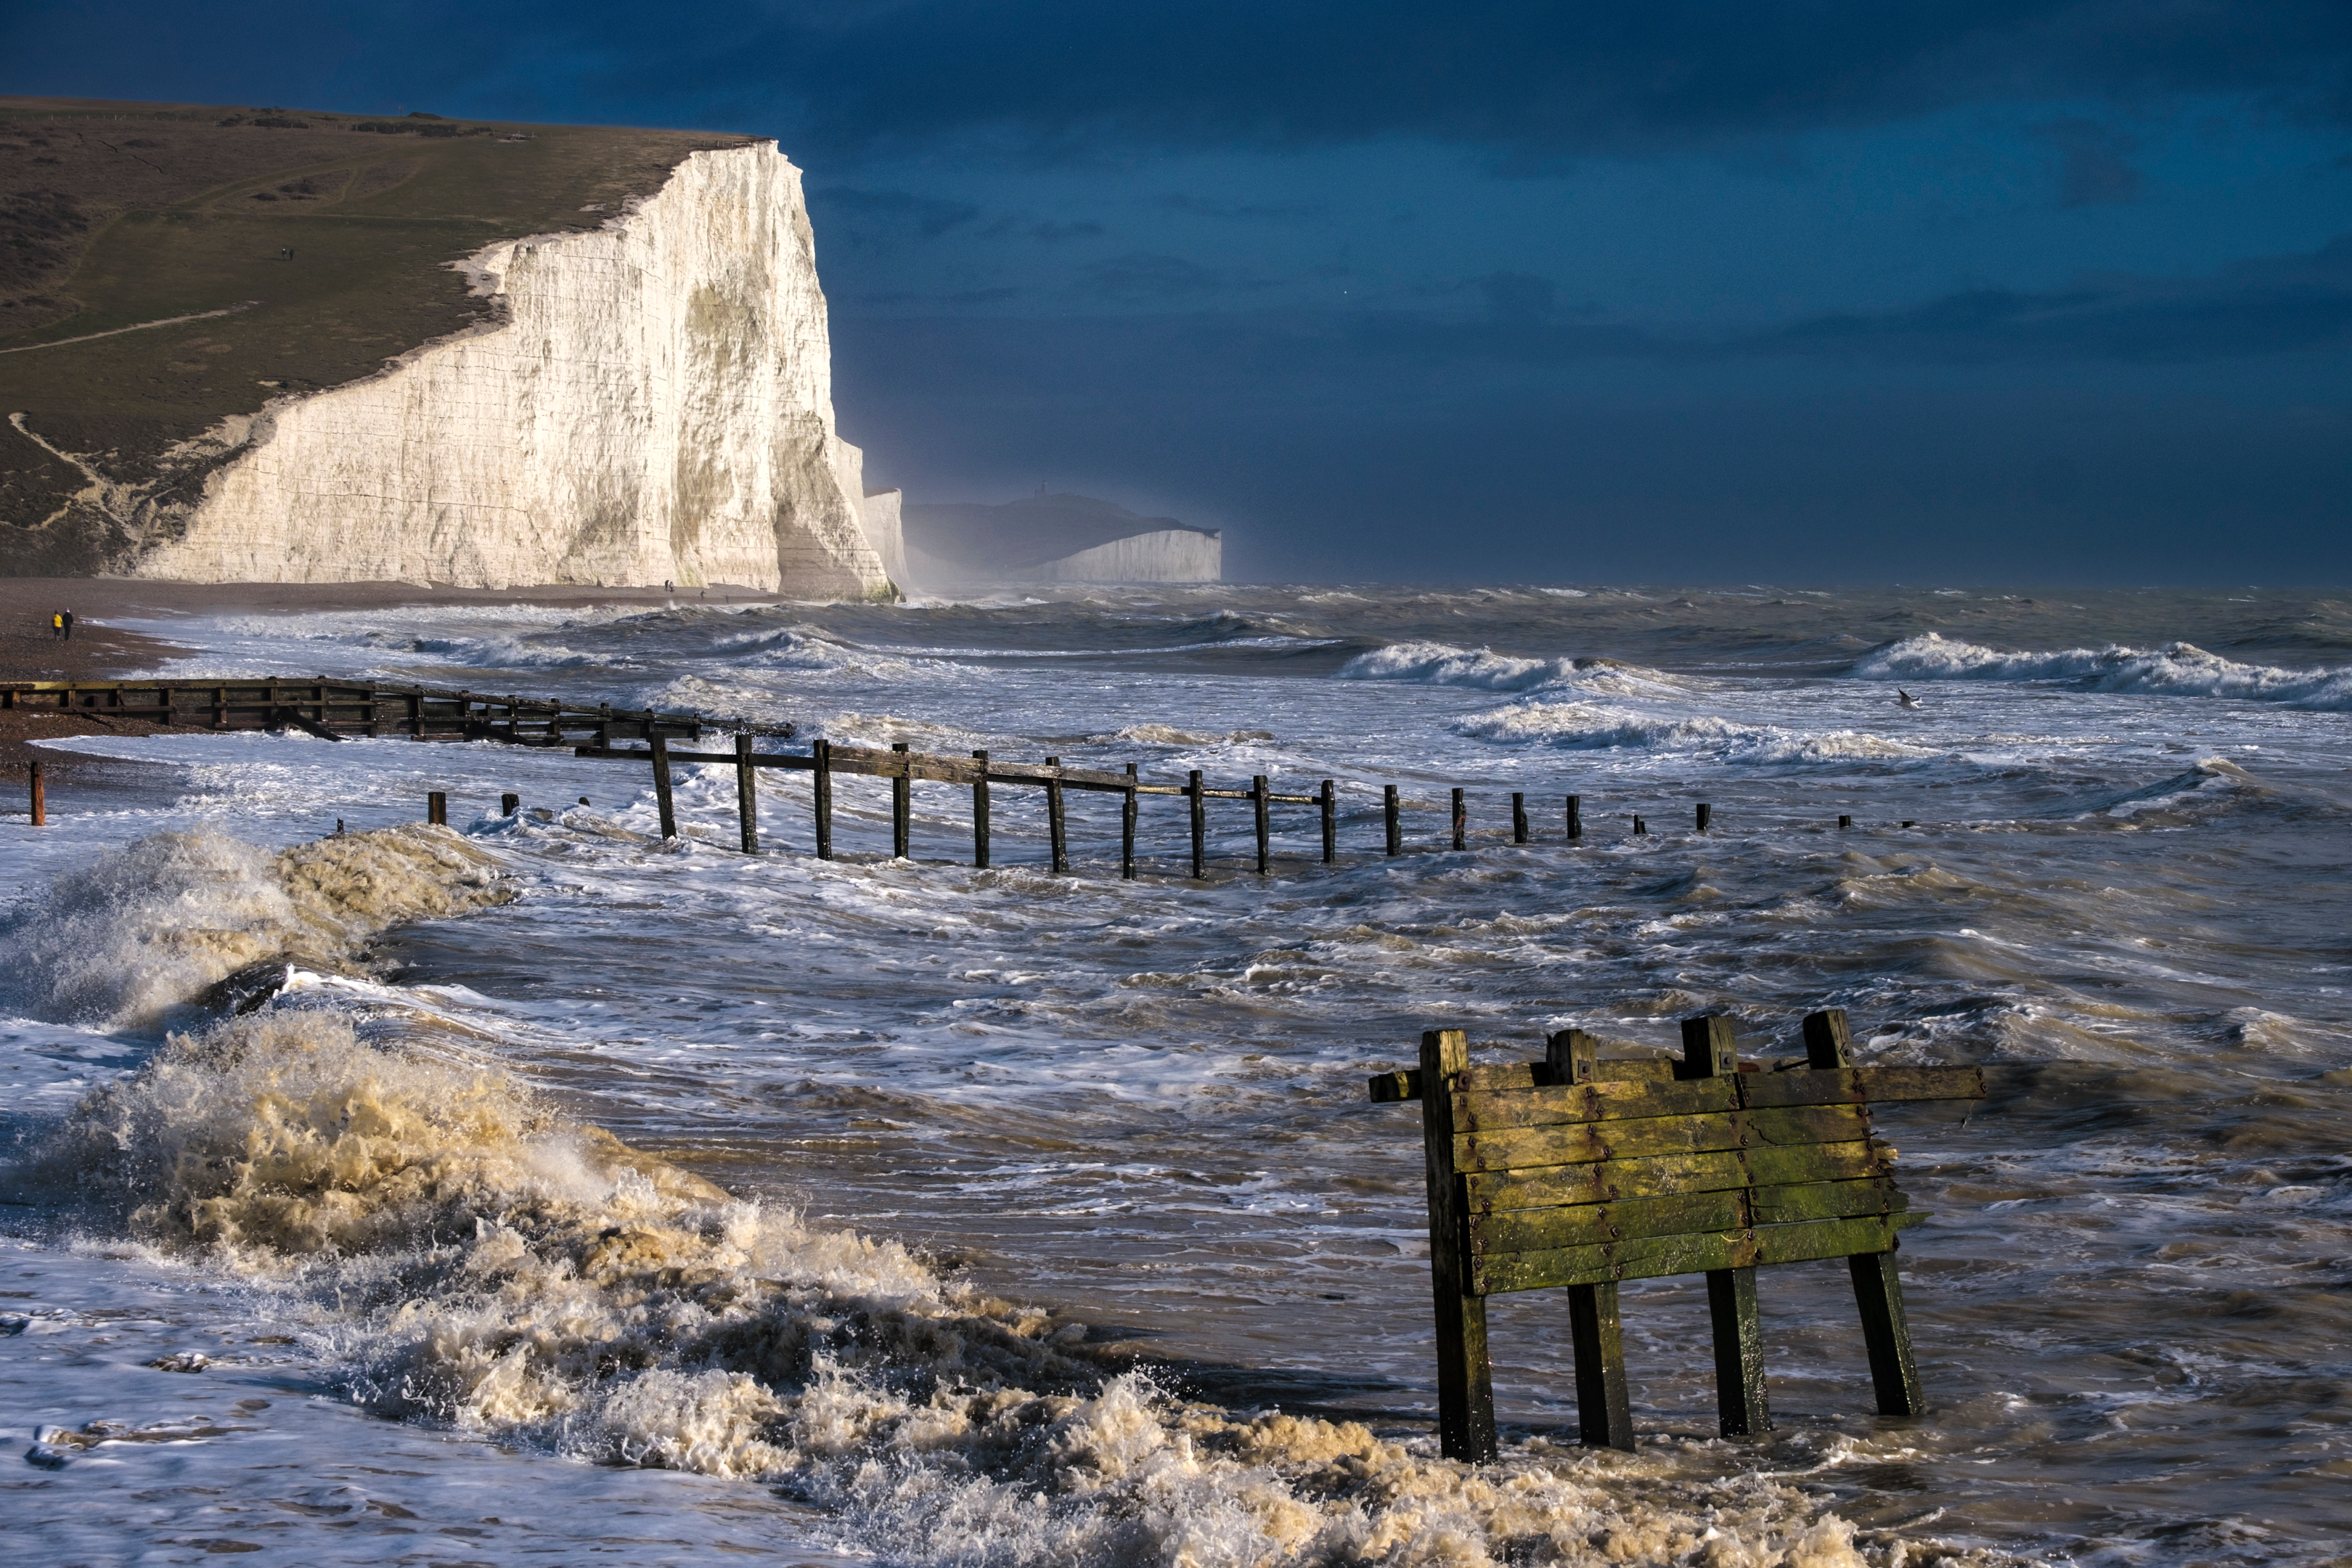
Shutter speed's effect on the image is in the way motion is conveyed, If you use a high shutter speed, say 1/1000th of a second, you will freeze fast moving subjects such as racing cars or birds in flight. As you start to lower the shutter speed, moving subjects will start to incur motion blur. Landscape and seascape photographers are often use a slow shutter speed, as this significantly blurs movement such as water in a waterfall or seascape, giving use those beautiful ethereal looking landscapes we often see. Of course as any manual exposure is a balance, the photographer has to compensate for the slow shutter speed by using a small aperture.
Aperture's Main Effect
The main effect of aperture, is of course depth of field, or in other words the amount of the image that is in reasonable focus in front of, and behind the main focus point. If we use a wide aperture, we get a shallow depth of field, meaning the image will be out of focus in front of and behind the subject. In other words it will have a blurry background.
This shallow depth of field is often used by portrait photographers to bring the viewer’s attention to the subject. Conversely, if we use a small aperture we get a deep depth of field, often from the foreground all the way to the horizon when used in landscape photography. Again, depending on what aperture we use, we have to balance that by using the correct shutter speed. A smaller aperture gives less light.
ISO's Main Effect
The last point on the triangle, is the ISO or film speed. In the days of film this was set as soon as you closed the camera back and couldn't be changed, however digital photography allows us a wide range of ISO speeds with which to control our exposure. ISO, in general should be seen as the last option on the exposure triangle, the option to use if we cannot get the right exposure with shutter speed or aperture.
Most typically this comes into play when there is less light and we cannot achieve a high enough shutter speed to freeze the action or eliminate camera shake. By increasing the ISO, what we are doing is effectively increasing the sensitivity or our sensor to light.
To use our analogy, we are making the bucket smaller so we need the tap on for a shorter period of time. The major downside to this is that any increase in ISO causes extra noise in our images, the noise showing up as a graininess to the shot. Today’s modern digital cameras can control this pretty well up to a point, but for the most part, the best option is to use the lowest ISO that you can get away with considering the lighting conditions.
So with all that said, let's delve deeper into the three elements of the exposure triangle. and some of the exposure modes that accompany them.
A Guide to Shutter Speed.
Shutter speed is one of the three pillars of the exposure triangle along with aperture and ISO. It is also one of the fundamental ways that we can control the creative look of our images. It is a vital part of our photographic knowledge, understanding it is a prerequisite to become an accomplished photographer. We can control shutter speed using manual mode or shutter priority.
What is Shutter Speed?
Let's start with the basics, what is it and how is it achieved. There are a number of different types of shutters in camera,, most common are focal plane shutters found in DSLRs and diaphragm shutters more often found in compact cameras. The principle is the same, the shutter opens for a set period of time, allowing light to enter the lens and expose the image, either to film or on a digital sensor.
How long we open the shutter will determine how bright the image will be. In our earlier analogy, we imagined the sensor as a water bucket and above it a tap. This is the shutter. When we open the tap the bucket fills. Open the tap for too short a period and there is not enough water and so we get a dark, under exposed image. In other words we don't have the right amount of light reaching the sensor. Open it for too long and we have an over exposed image. If the tap is on for far too long, the bucket overflows, these are your unrecoverable clipped highlights.
The typical range of speed for most shutter is from around 1-2 seconds through to 1/4000 or even less. For average everyday daylight photography we would be using shutter speeds of 1/60th to 1/1000th of a second depending on conditions, aperture and ISO, however it is the way that we use these and the other shutter speed that allow us to define how our images look.
What camera setting to we need to use to control shutter speed? To set shutter speed we can use manual mode or shutter priority. In manual mode we would decide which shutter speed we want to use, then adjust our aperture to suit.
In shutter priority, we set the required shutter speed and the camera will automatically set a suitable aperture.
Let's take a look at what effect shutter speed has on images.
Slow Shutter Speeds.
Slow shutter speeds can generally be regarded as those of 1/30th of a second and more, all the way up to times in the minutes. For the most part, when using a slow shutter speeds you will need to be using a tripod as any motion in your body is going to be transmitted to the camera, when hand holding. The longer the focal length of the lens the more chance there is of this happening.
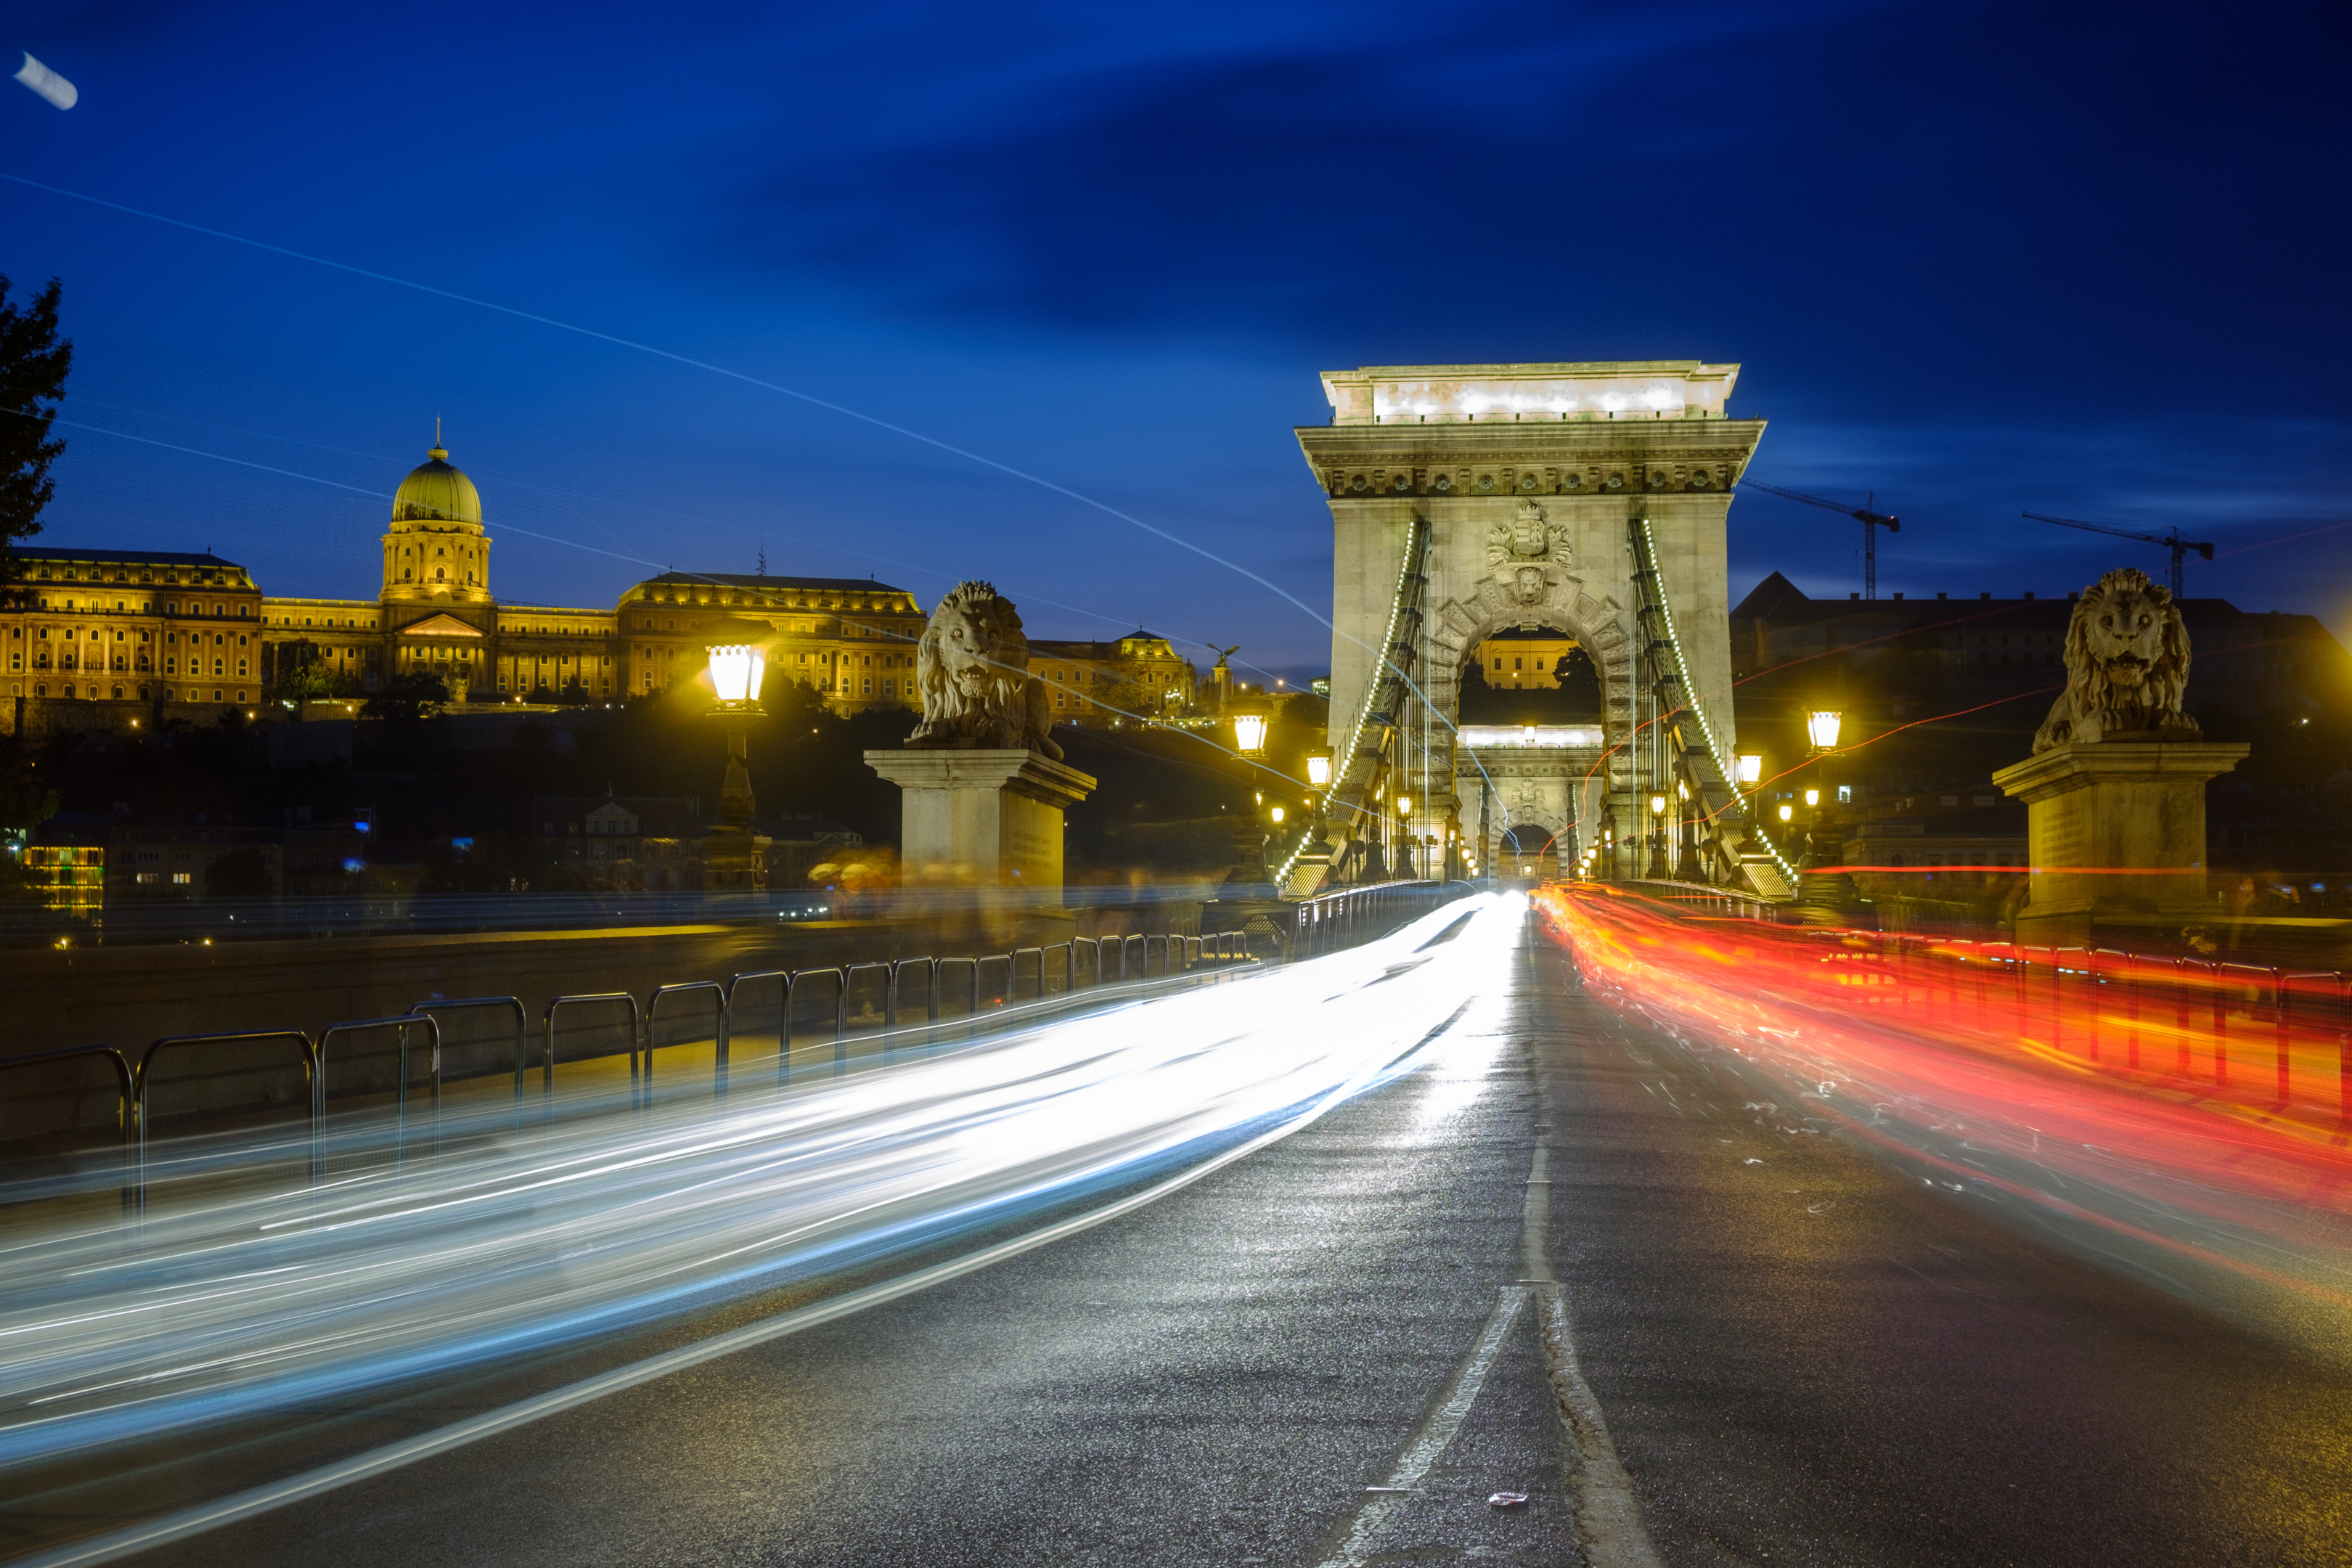
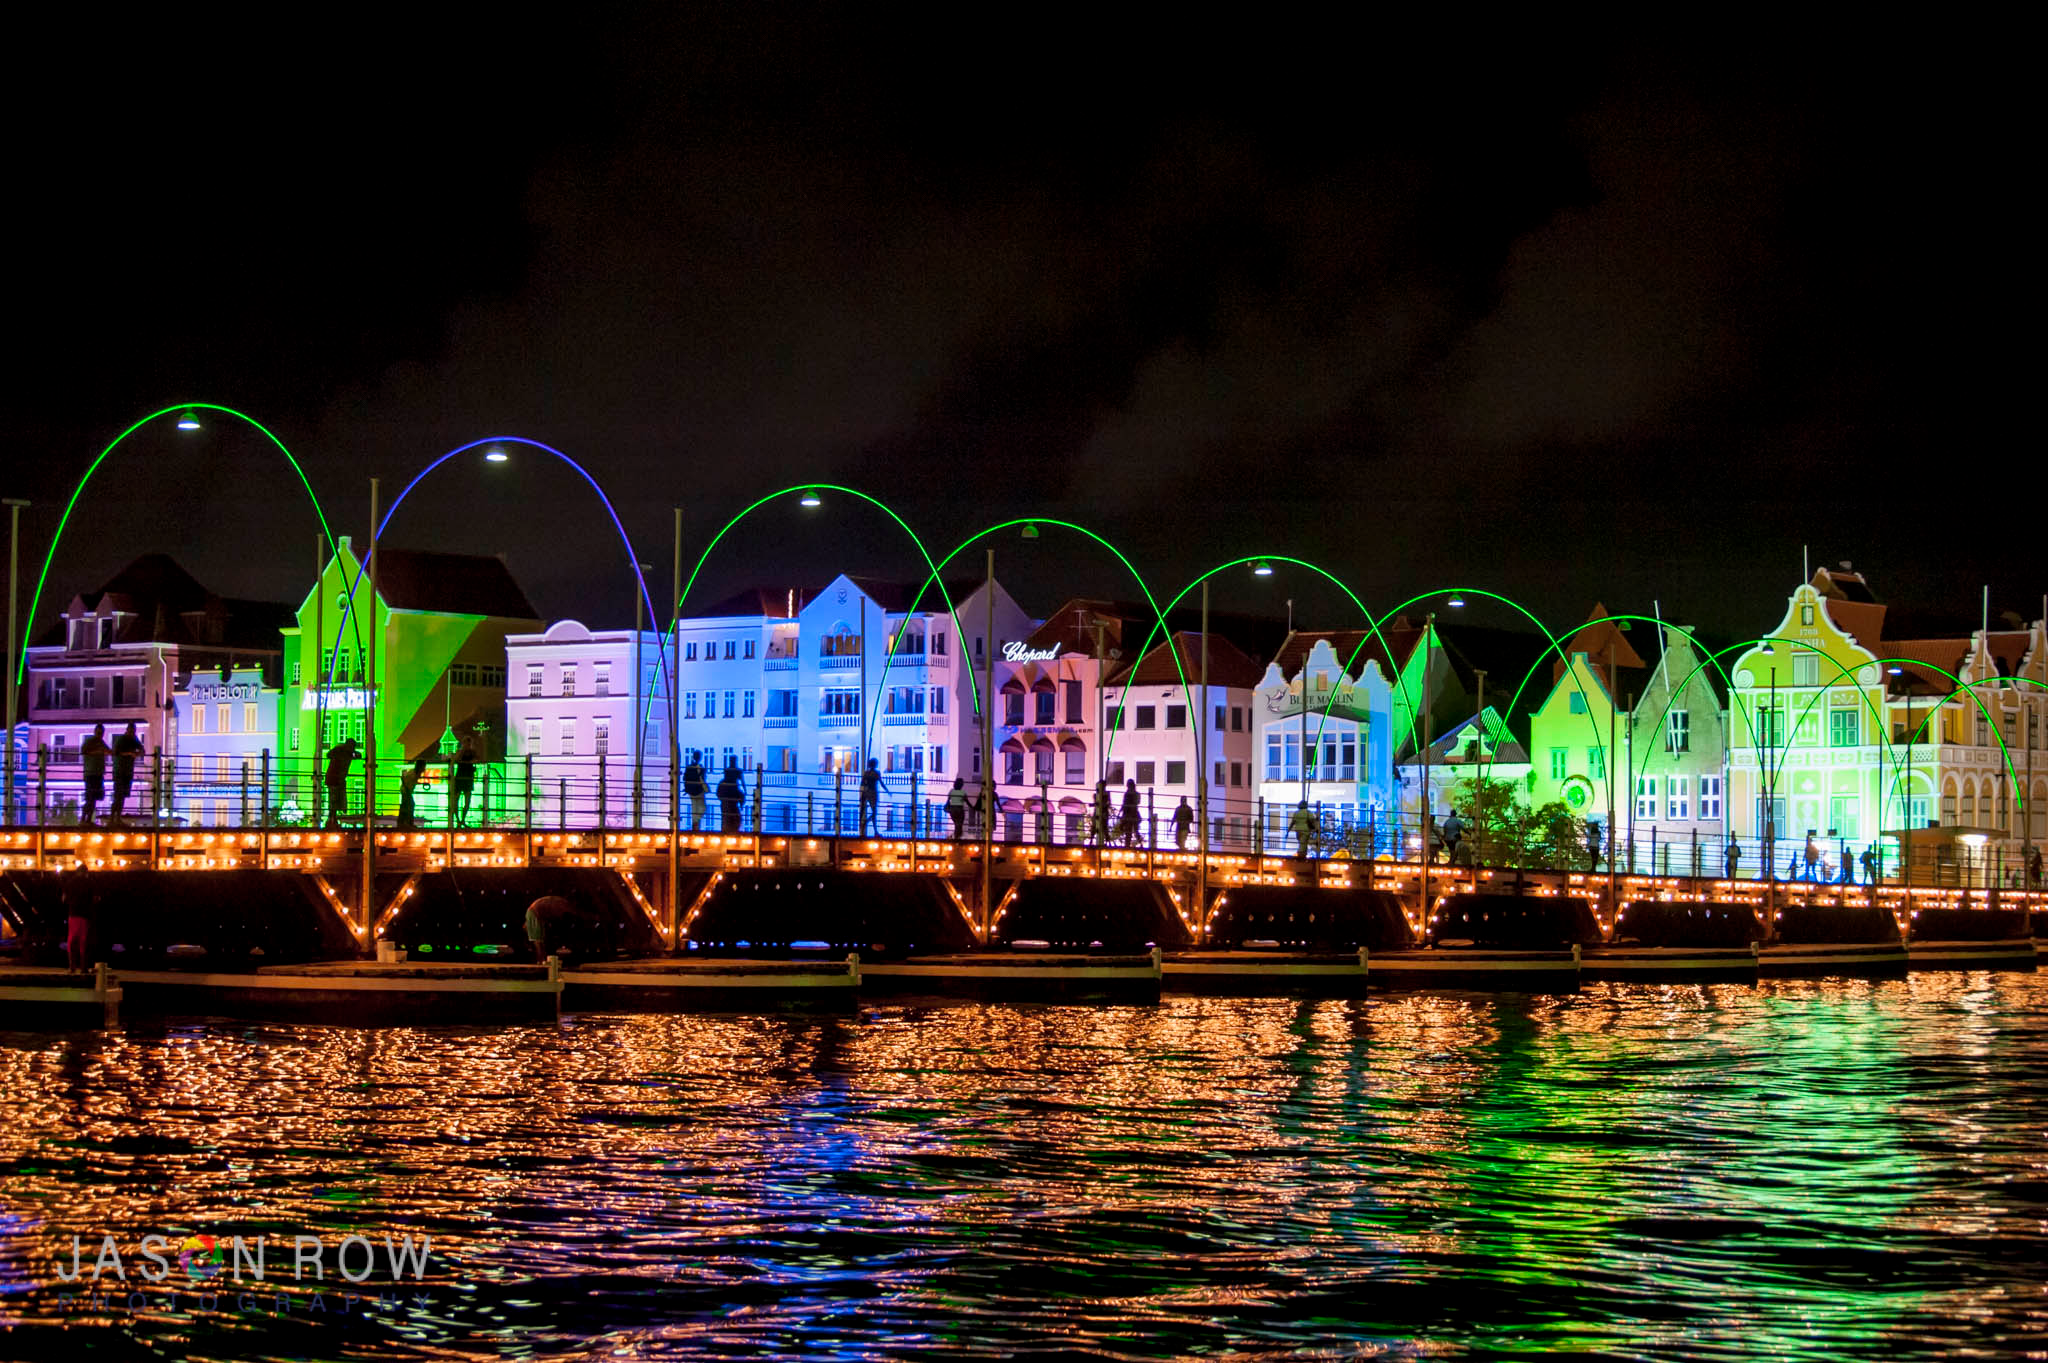
A Slow shutter speed is a wonderful creative tool if used well. You can created surreal ethereal effects in bodies of water such as oceans or waterfalls, or imprint traffic light trails over your cityscape images.
One of the main problems in using a slow shutter speed, is actually having too much light available, even when you have closed the aperture down to it’s minimum.
To solve this issue you can use neutral density filters. These are graded by the amount of light they reduce, an ND 0.3 will reduce your exposure by one stop, an ND 0.6 two stops etc, allowing you to reduce your shutter speed to get the required effect.
Fast Shutter Speeds.
A fast shutter speed can generally be regarded as speed of less than 1/500 of a second and are a powerful tool for freezing motion. Typical uses of high shutter speeds are in wildlife photography, to freeze the motion of an animal at speed and, for in sports photography where you can capture the action at it’s optimum moment.
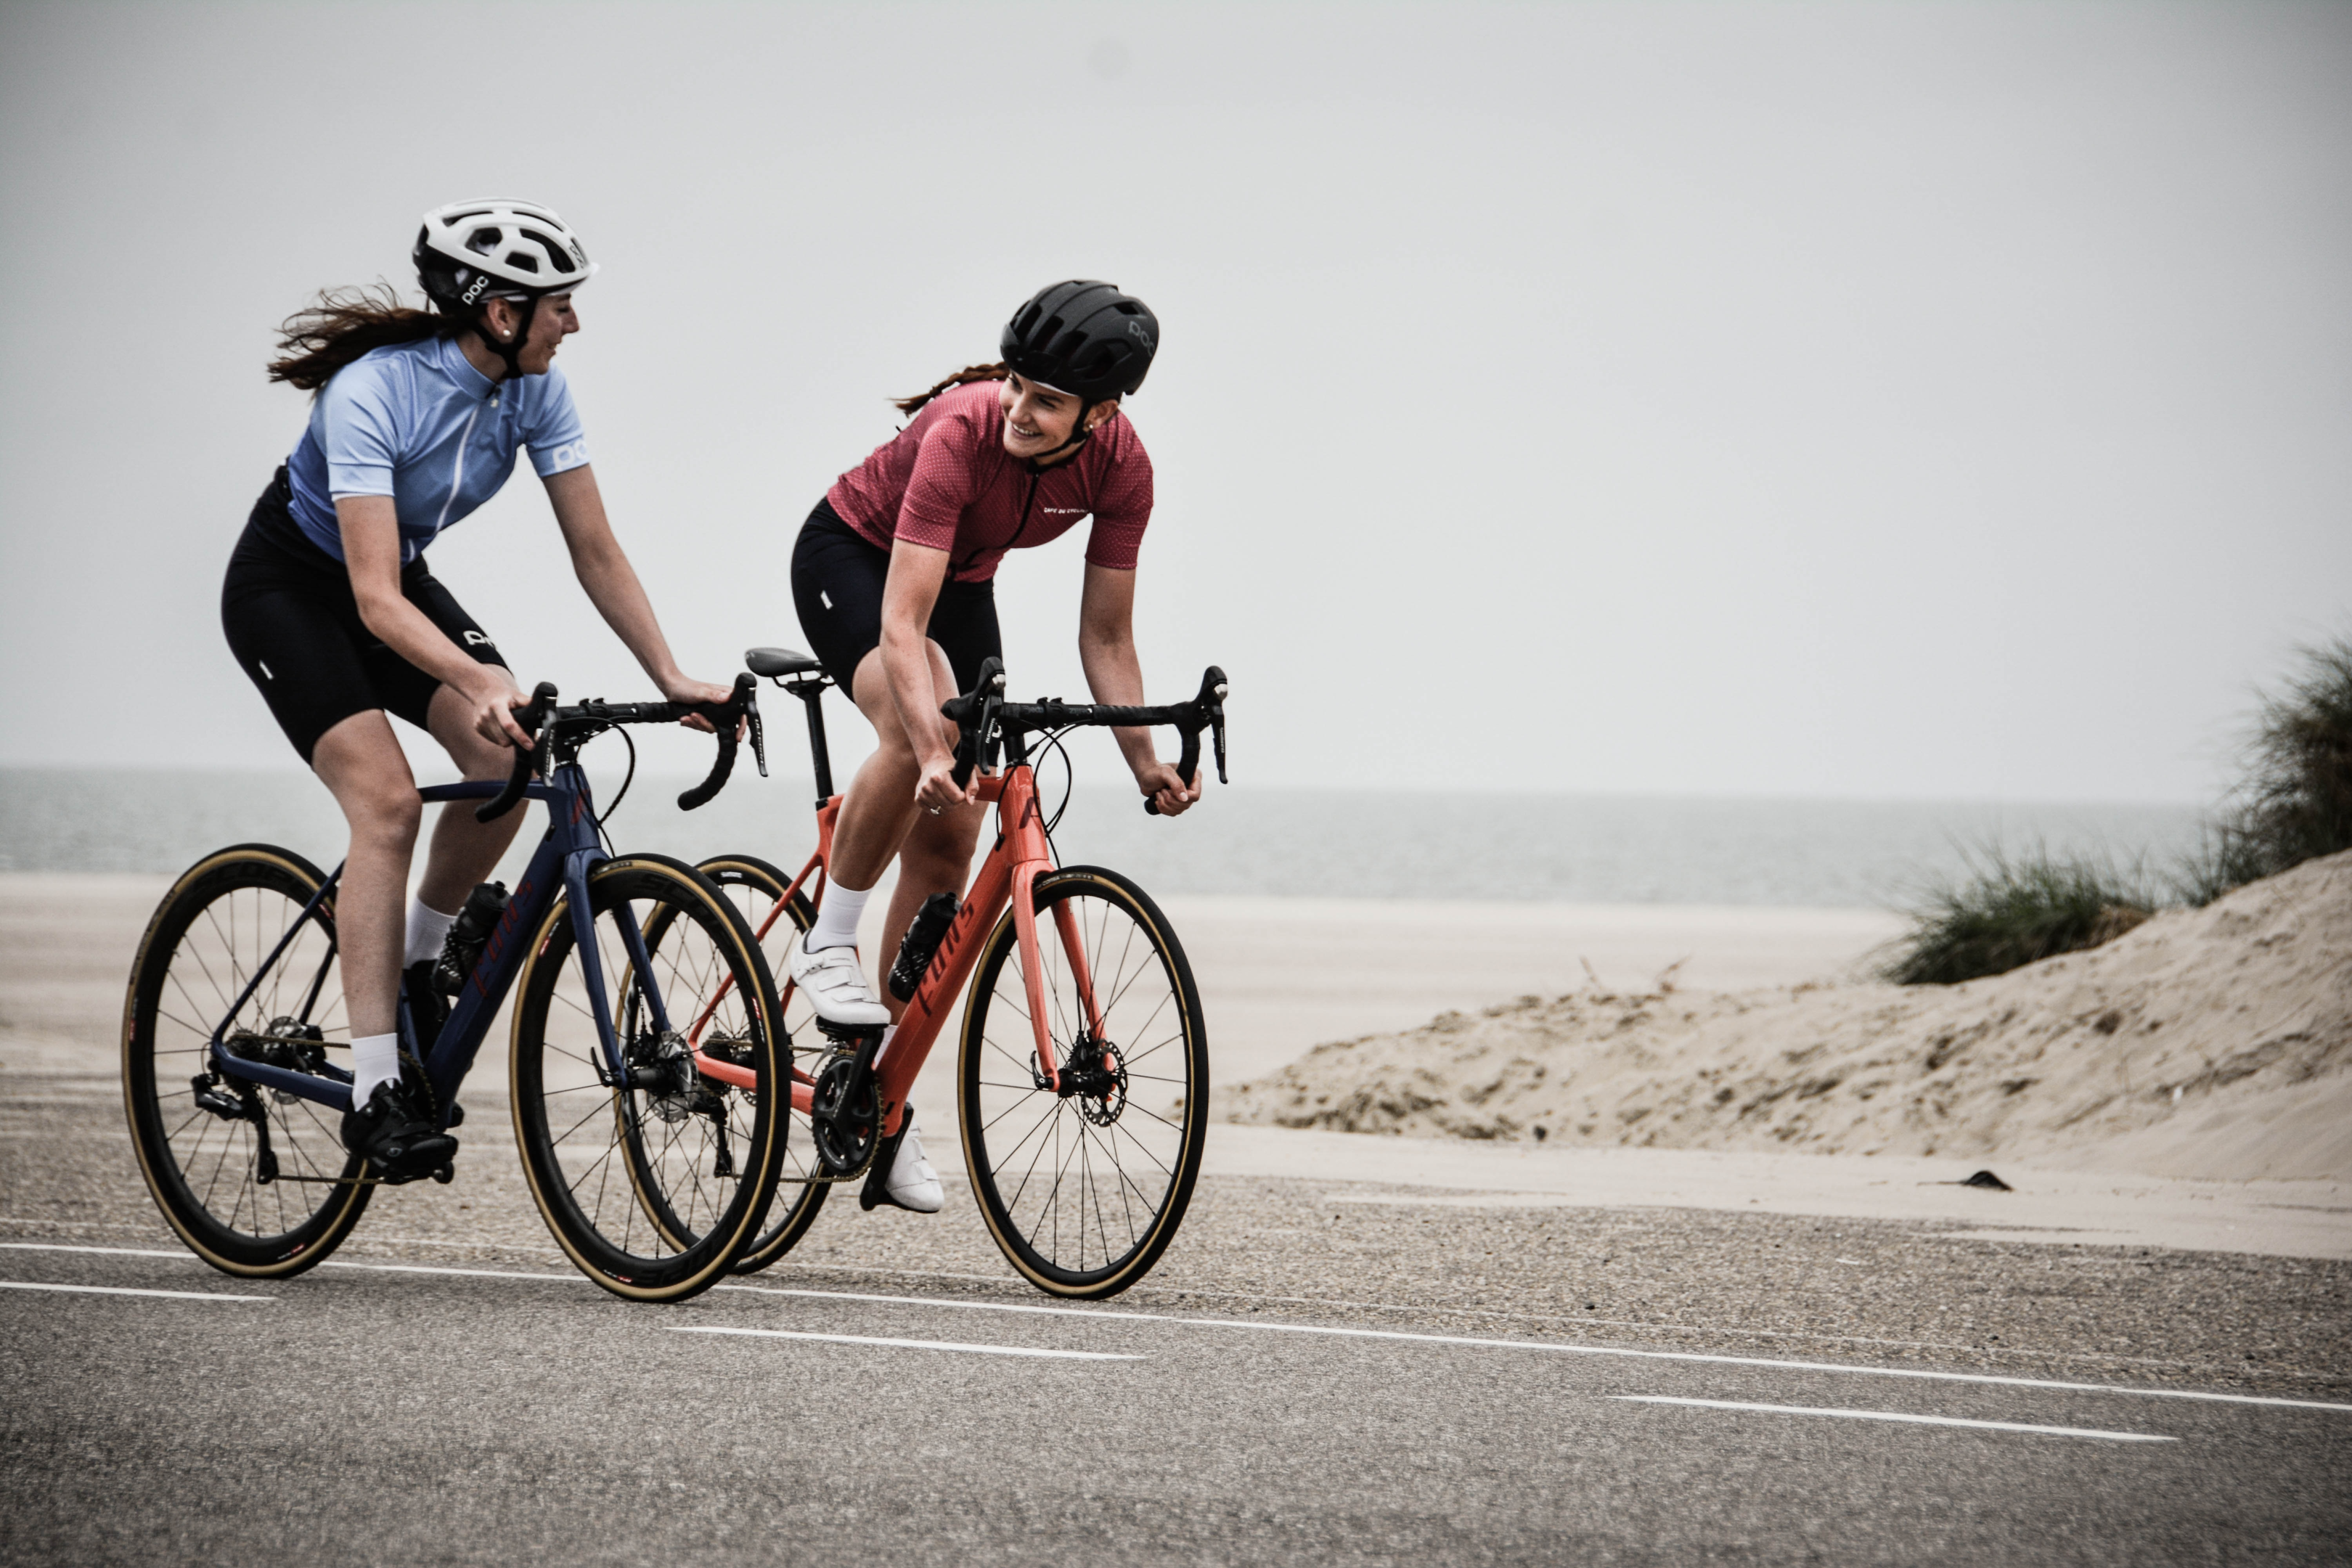
Exposure wise we have the opposite problem to slow a shutter speed in that there may not be enough light. This is why you often see wildlife and sports photographers with fast, large aperture lenses.
In low light even the fast lens may not be enough meaning that you have to increase your ISO to maintain the required shutter speed. In turn this will introduce an increase in image noise levels.
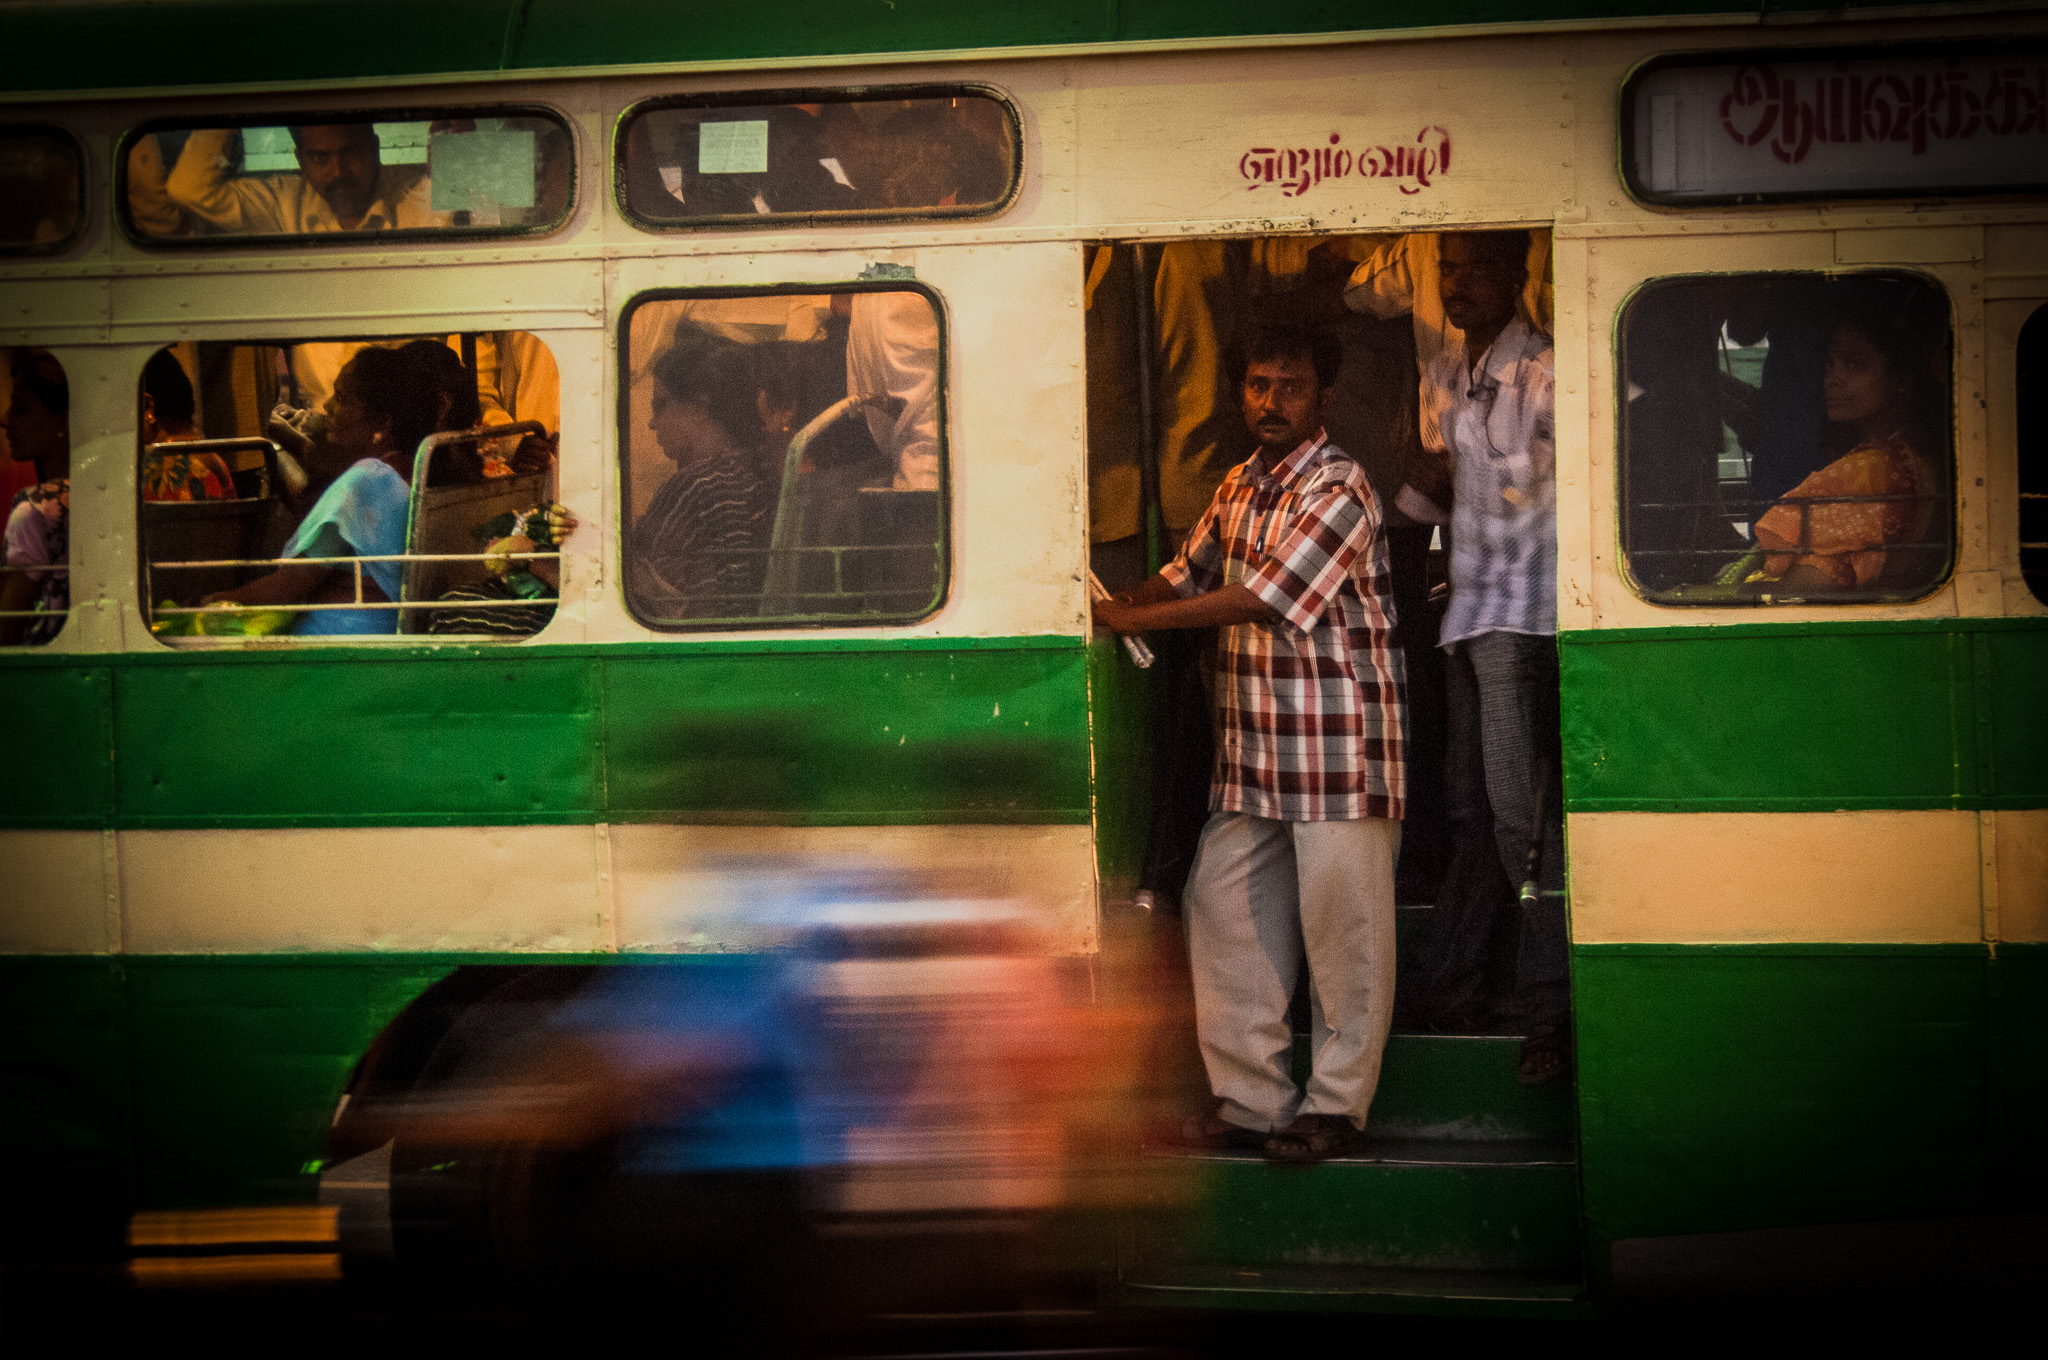
A way around this in certain shots, is to use panning. When we pan, we follow the action of the subject with the lens, moving our upper body to keep up. This in turn allows us to reduce the shutter speed to a certain extent.
For example if we where shooting a fast moving racing car, it make require a shutter speed of 1/1000 of a second or less to freeze the action. By using panning we can reduce shutter speed to 1/250 or even more with the added bonus of a blurry background. This conveys a sense of speed in the image that would be lost using a high shutter speed.
In all these shutter speed cases we are deciding the shutter speed first to suit the subject we are shooting. We then select the aperture either by using manual mode or shooting in shutter priority and allowing the camera settings to define it.
If shooting in manual mode you will need to understand the light meter in your camera. Learning the camera's histogram would also be very useful.
This section only briefly touches on the power of shutter speed as a creative tool. As with all photographic techniques, the best way to learn and understand fully the effect of shutter speed is to go out and practice, then practice some more.
A Guide To Aperture
Aperture, also known as f-stop controls the amount of light that comes through your lens and reaches the sensor. Along with shutter speed and ISO it is one of the three controls we have to regulate exposure.
The aperture on you lens is like a leaf shutter than can be opened and closed according the amount of light in our scene. It can be controlled in manual mode by the photographer or automatically by the camera using aperture priority mode.
At it’s most open it is called maximum aperture and will let in the maximum amount of light. Depending on lens a maximum aperture might be somewhere between f 1.4 and f4.0. Lenses with apertures of f2.8 or greater are often called fast lenses but can be quite expensive.
It's important to remember that in photographic terms the lower the f stop number the bigger the aperture is. When the aperture is smallest, it is called minimum aperture and this lets in the least amount of light. On most lenses the minimum is around f16 to f22.
Aperture is the primary control for depth of field, the amount of the image that is focus in front of and behind our subject.
When we have a wide aperture, for example f2.8, less will be in focus in front of and behind our subject. We will have a blurry background also known as a shallow depth of field.
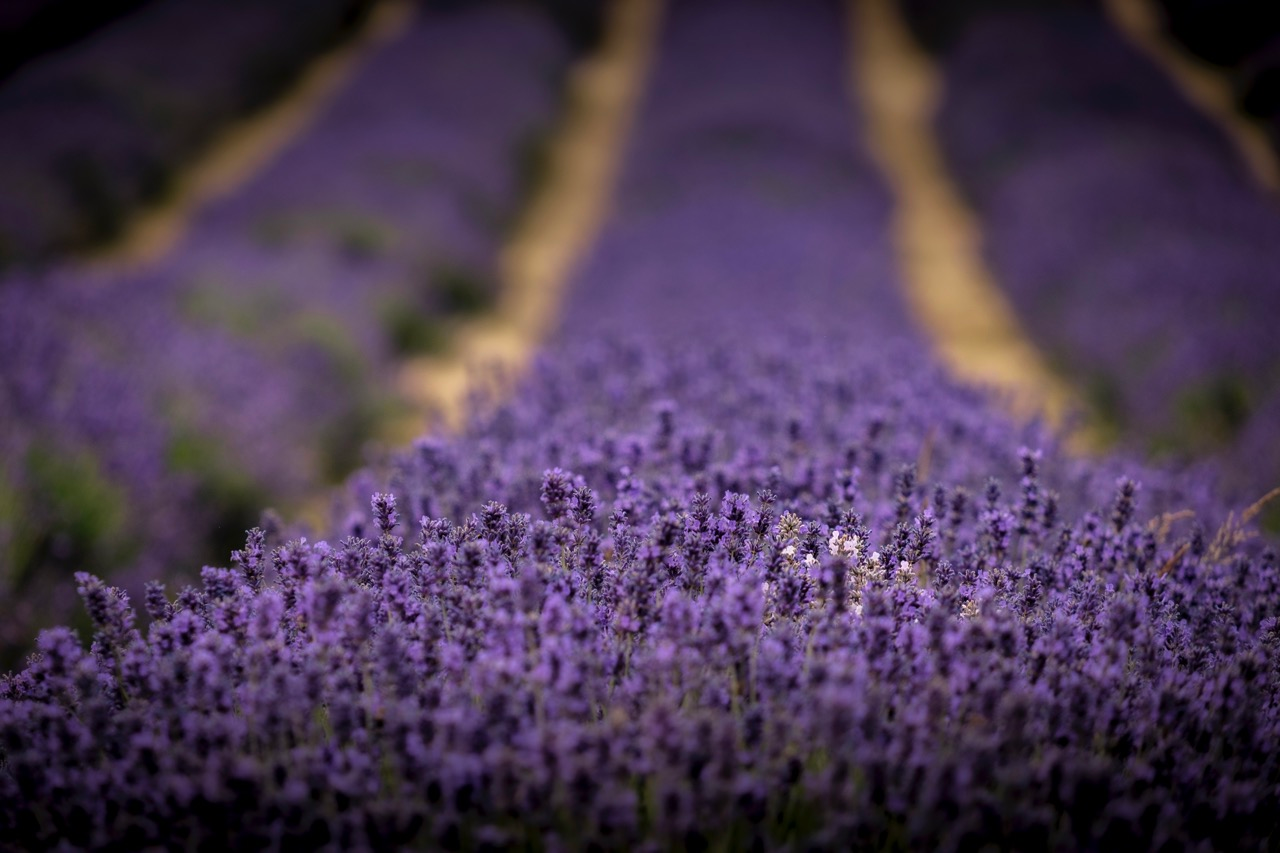
As we close the aperture down, also known as stopping down, more and more of the image will come into focus. This is a very useful thing to know from a creative purpose. Here’s why. At wide apertures for example f1.4 or f2.0 we can have shallow depth of field and what is known as Bokeh. Bokeh is a term given to the way the out of focus parts of an image look.
Wide apertures are also ideal if the amount of light is low, as they allow us to use a high enough shutter speed to hand hold the camera.
Mid range apertures such as 2.8 through to f5.6 are ideal for portraits, sports and wildlife. The latter two are where you need to keep a relatively high shutter speed due to the motion but also want some parts of the image in focus behind the subject.
Apertures of f11 to f16 are ideal for landscapes where we want a lot of the image to be in focus from foreground to background. This is known as a deep depth of field.
From f stops 16 down to f22 or f32 we can get in the realms of very long exposures, if the light is low. In these shots where our shutter speeds could last into minutes. We can also get an effect called diffraction at these small apertures, a reduction in image quality. For this reason it's wise to avoid the smallest apertures.
Understanding aperture and its effect on an image will open many creative possibilities for you, from the creamy bokeh of an ultra wide aperture to the deep depth of field of a very small aperture. To control aperture shoot either use manual mode setting or shoot in aperture priority.
A Guide To ISO
ISO is an integral part of the exposure triangle. It is also possibly the least understood of the three elements that make up that triangle. This is especially true to those who are relatively new to photography. Like shutter speed and aperture, ISO has its roots firmly in the film era. In fact many of us older photographers will be familiar with its alter ego, ASA. Both are scales to measure sensitivity to light. In the photographic world this means film sensitivity or sensor sensitivity. This makes it a vital thing to know about if we are trying to get the best exposure. Today we will try to unravel the mysteries of ISO and it’s relevance to taking photographs.
What does ISO denote.
It is a scale created by the German Institute for Standardisation to define the sensitivity of film and and sensors to light. Although the original ISO was based on a logarithmic scale its modern day incarnation uses the easier to understand arithmetical scale formally used by ASA. This means that sensitivity to light is measured on a logical scale, a double in the sensitivity will give a doubling of the ISO figure.
Typically modern day cameras have what is called a base ISO. This is not necessarily the lowest ISO the camera is capable of but it is the one that gives the optimum image quality. On most cameras this is either 100 or 200 ISO. Assuming the base sensitivity of ISO 200 if we now double the sensor’s sensitivity to light we get ISO 400, double it again we get ISO 800. So as you can see its a logical scale. Let’s have a look at what means to real world shooting:
If we are taking a shot in relatively low light, we might find that our exposure is 1/15th sec at f4.0 using our camera’s base ISO of 200. This means the shutter speed might be a little to low to get a decent hand held shot without camera shake. Because we cannot decrease the shutter speed any more, our only options are to widen the aperture or increase the ISO. It might be that f4.0 is our maximum aperture so the only option is to increase the ISO.
If we now increase the ISO from the base of 200 to 400, we double the sensitivity of our sensor. This in turn gives us one extra stop of sensitivity to light. So assuming we keep at f4.0 we can now raise our shutter speed one stop from 1/15th to 1/30th of a second. Double the ISO again from 400 to 800 we can raise the shutter speed from 1/30th to 1/60th of a second. Of course it does not have to be shutter speed we increase, we could also decrease the aperture, from f4.0 to f5.6 to f8.0 if that were preferable. What’s important is that ISO is the third element in balancing our exposures.

How Does It Work?
It might not seem important to know how a camera sensor increases it’s ISO but it has big ramifications on the quality of our image. In layman's terms each pixel on our sensor can capture a certain amount of light is a set time. If there is not enough light to completely “fill” that pixel we get under exposure. When we boost the ISO, the camera sensor effectively amplifies the light received in each pixel to a level that gives us a good exposure. As you increase the ISO, there is a greater chance of electrical interference between each of the individual pixels, resulting in a “noisy” signal. That leads us to the big caveat of increasing sensor ISO, image noise.
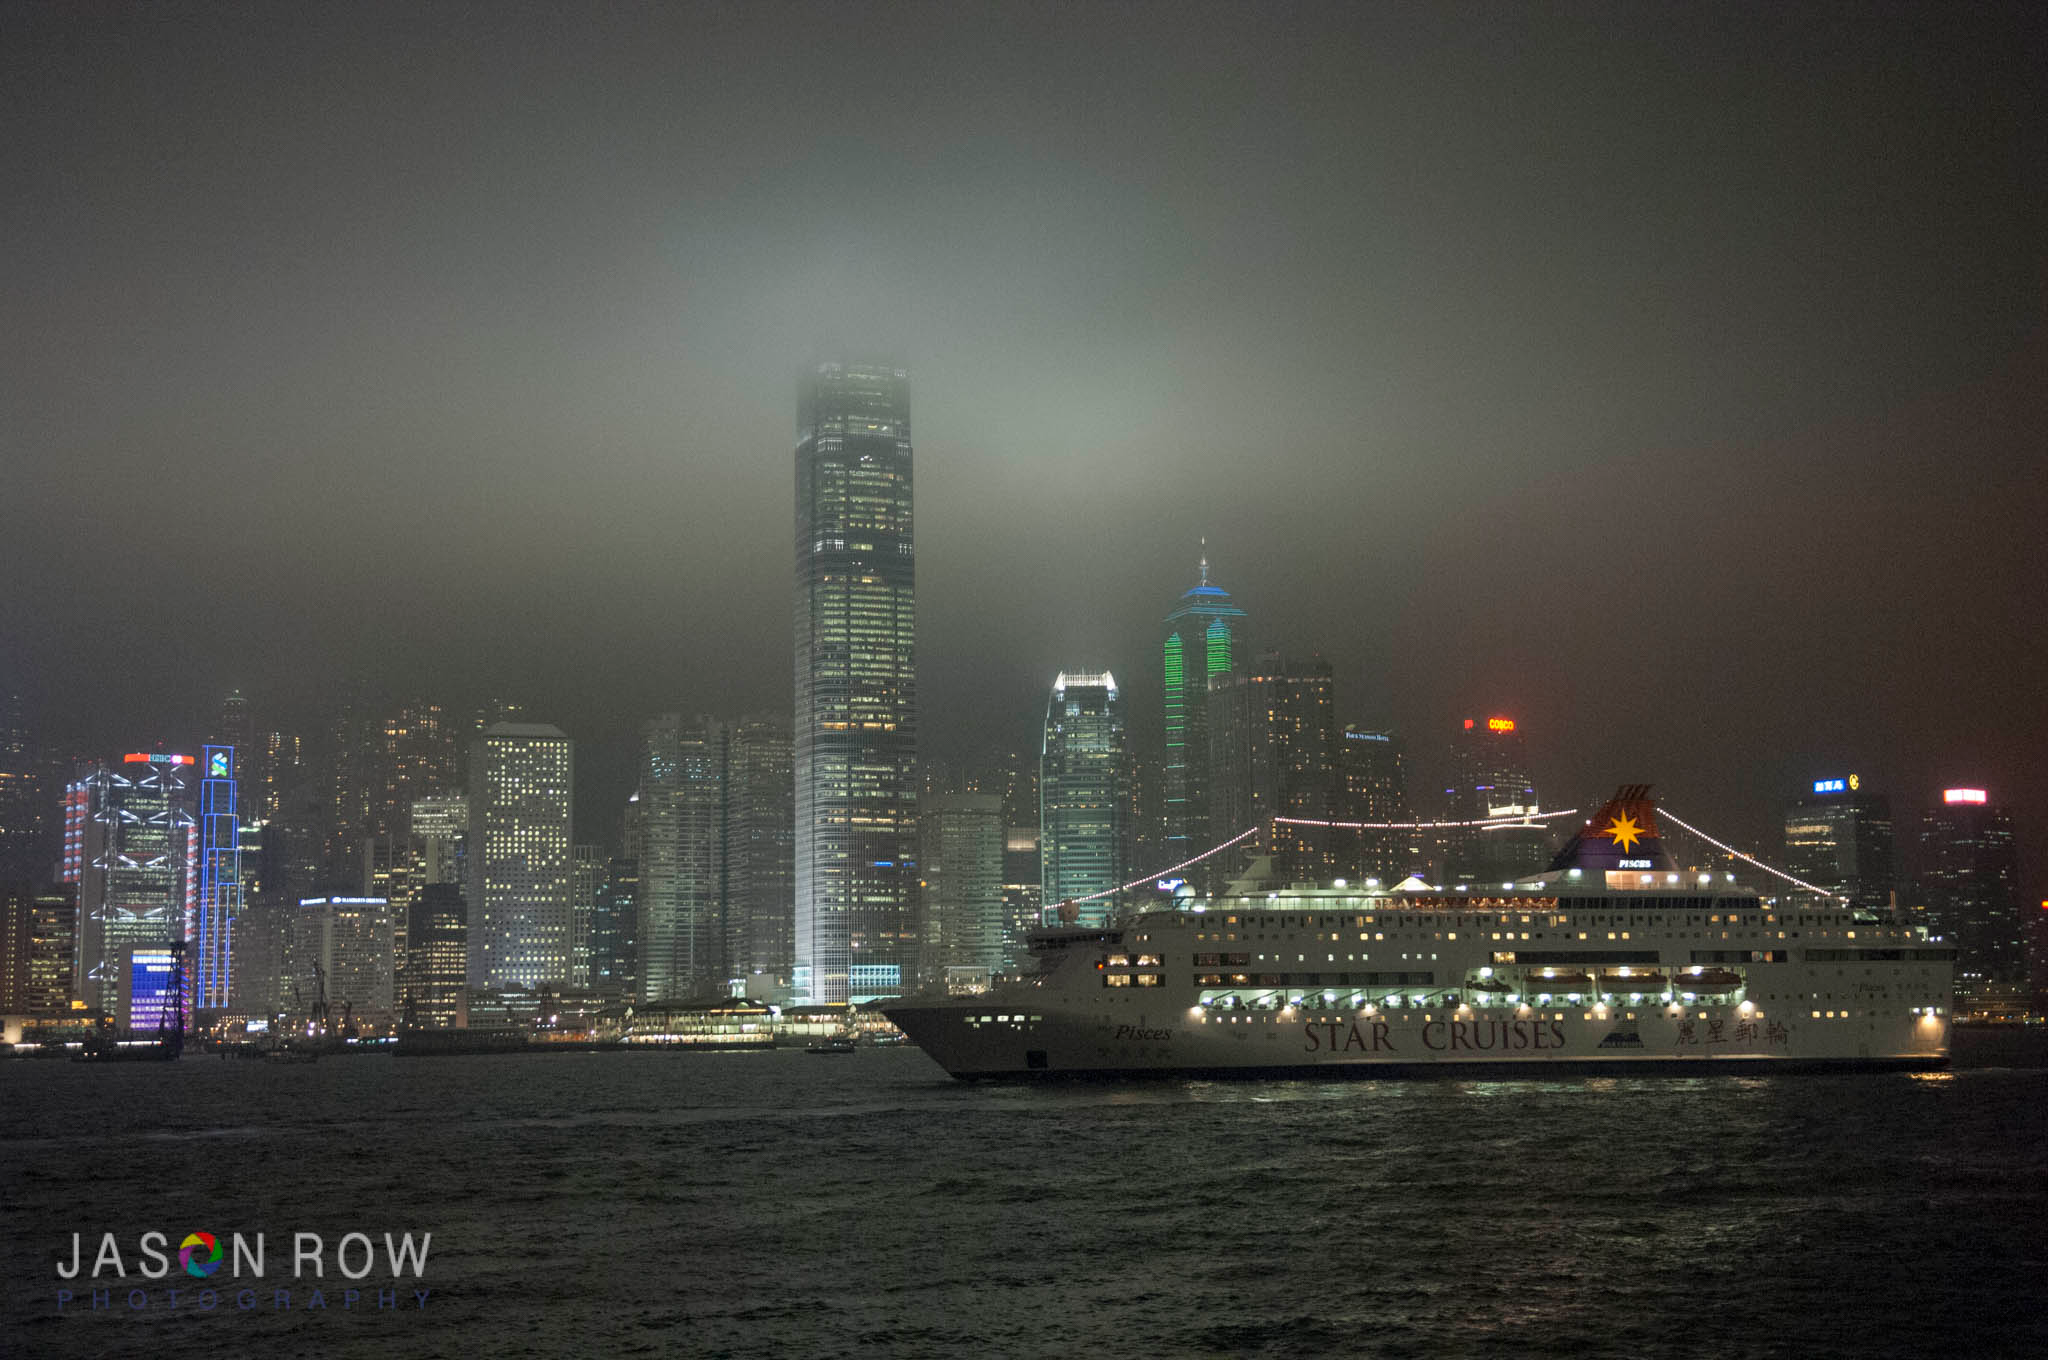
That increased signal noise will manifest itself in the quality of the image. As you increase the ISO you increase the noise to a point where the image becomes unusable. In the early days of digital imaging, images became pretty much unusable after ISO 800. However, technology has moved one and sensors are now capable of controlling noise at much higher ISOs.
The above is the main reason why full frame images have less noise than cameras with small sensors. The smaller and closer the pixels are together, the increased likely hood of noise at a given ISO.
Understanding ISO is as important as understanding aperture and shutter speed. Each element of the exposure triangle has consequences when used. Slower shutter speeds can give camera shake, higher apertures can give diffraction and increased ISO can lead to noise. Finding the best balance between all three is the key to the perfect exposure.
Final Thoughts
The exposure triangle is fundamental to your understanding of shooting in manual mode, shutter priority or aperture priority. Shooting in a manual mode will give your the greatest appreciation of just how powerful a concept it is.
Every exposure you make is a balance of the three camera setting that make up the exposure triangle, namely aperture shutter speed and ISO.
If you would like to learn more in depth about manual mode and the exposure triangle be sure to check out my short course on the subject at Udemy.